

Still needing more pick me ups for your summer look? Here’s what’s on my list for the warmer weather…
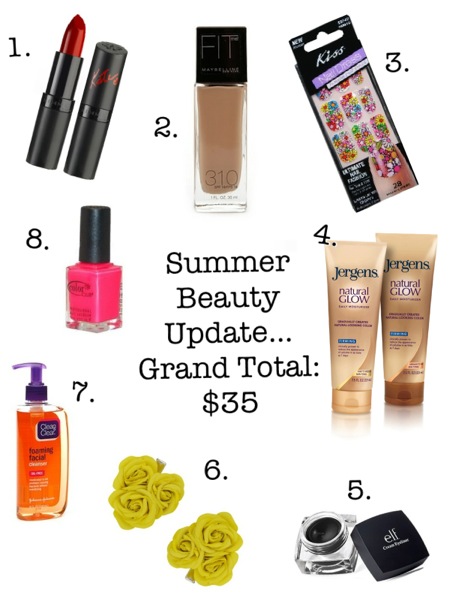
1. Kate Moss for Rimmel London: these lippys feel amazing, wear like a dream, and are under $5. My favorite is shade 12
2. Maybelline FitMe foundation: a long time favorite of mine. With a lightweight, luminous finish, you can consider this tinted moisturizer’s big sister. Perfect for those days when you don’t want to feel too “made up.” Around $6
3. Kiss Nail Decals: lasts up to ten days, tons of fun patterns and less than $6 a box! Good for nails and toes…or be daring and do the “accent nail” trend. I love this floral pattern!
4. Jergens Natural Glow: Skip the damaging sun and use this daily for a believable tan! LOVE this stuff! Definitely in my top 5 self tanning products! Under $8
5. ELF cream liner: $3 and lasts ALL day! Summer-proof liner to be sure.
6. Forever21 Hair Clips: Aren’t these yellow roses cute? $2.50
7. Clean and Clear Antibacterial Face Wash: one of my favorite face washes, this $4 miracle will take care of any extra yuck (ie: sweat & bacteria) that comes along with the heat.
8. Color Club in Jackie Oh!: less than $3, and free from all of the poisons in typical polishes! Love this electric shade!
So many beauty treats, so little time! Pretty nice though for only $35 right?!
Cheers to Sunshine, Summer-Proof Makeup, and Beauty Pick-me-Ups,

May 15, 2012
The warmer weather proves that summer is almost here. And while it is exciting to bust out the sandals and summer dresses that were ignored during the winter…it’s fun to add something new to the routine! Here are the things that were in Ashley’s (Polish and Pout’s Lead Stylist) shopping cart this week!
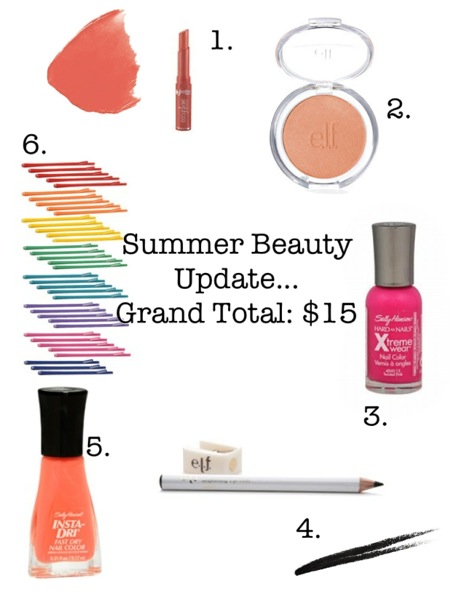
1. Easyshine Glossy Lip Color by Jordana: creamy sheer color and only $1…need I say more?
2. ELF Bronzer: skip the sun damage and bronze it up baby!
3. Sally Hansen Xtreme Wear nail polish in Twisted Pink: its all about bright colors right now! That neon tank top too much? A bright polish is a great way to ease into the trend!
4. ELF Eye Liner in Black: rock the graphic (aka bold) eyeliner trend for only $1
5. Sally Hansen Insta-Dry polish in Snappy Sorbet: the perfect summery coral!
6. Remington Hair Clips: these bobbys come in a variety of fun colors and are only $2.50 a pack! Use as a cute way to pin back those bangs or be daring and follow the new trend of showing your bobby pins when you put your hair up!!
Love Ashley’s picks!! I’m thinking that I definitely will go buy those colorful bobby pins ASAP!! Do you think you might give your summer look a boost with these items? It won’t do too much damage to your wallet…Plus, if you’re like me and not feeling “ready” yet for bikini season, I’ll let you in on a secret: beauty products always fit 😉
Cheers to Warmer Weather, Bright Colors, and Things that Fit,

May 11, 2012
This summer, hair trend is moving past the beachy look and diving right into what we call “mermaid hair”…it still has that effortless look that we all love about beachy hair, but with a bit more polish!

Remember Jess (not me! The model from photog JennaRae’s shoot!) from yesterday’s post? We’ve been getting lots of questions about how Ashley accomplished this mermaid hair look…so here’s a tutorial how! You have to admit, the fact that it’s called “mermaid hair” does add to the appeal of the look, doesn’t it?!
Enjoy this video tutorial! And Good luck!
Cheers to the Beach, Summer, and Mermaids,

May 3, 2012
Tangerine Tango was named Pantone’s color of the year for 2012! Pan-whaaaat? you say…Well nutshell version is: Every year Pantone (a company that established a system of identifying and matching colors for use in design et cetera) chooses a color of the year. And this color is used a lot in fashion, beauty, and design forecasting. Orange you glad I explained that?–umm, sorry couldn’t resist that joke–I bet you $10 if you haven’t noticed this color everywhere yet, you will know that you’ve read this!
I love the energy and confidence that this color communicates! Here are my Tangerine Tango beauty pics:
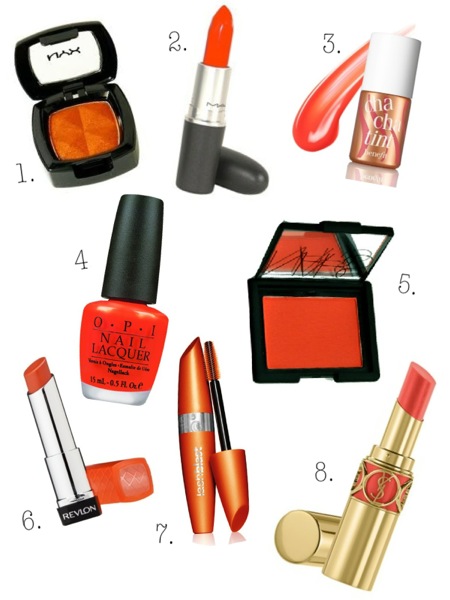
- NYX eyeshadow in Hot Orange: It’s a steal at only $5!
- MAC Lipstick in Morange: Literally one of my favorite lipstick shades OF ALL TIME! $14.50
- ChaCha Tint by Benefit: Cheek stains are the best for giving a believable long wearing glow $29
- OPI nailpolish in On The Same Paige: around $9
- NARS blush in Taj Majal: looks lovely on deep skin or layered with bronzer if you’re more fair $28
- Revlon Colorburst Lip Butter in Tutti Frutti: creamy vibrant color $6
- Cover Girl Lashblast: the mascara is black but the colorful tube and great applicator make this mascara a winner $6
- YSL Rouge Volupte #14 Orange Shiver: The epitome of luxury, you’ll feel like a celeb pulling this bad boy out of your handbag! $34
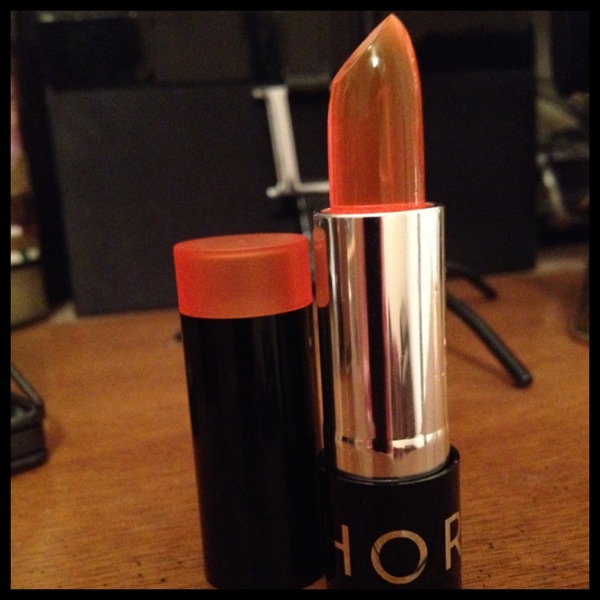
And my final pick is the lippy above: Sephora brand Hot Hues Lip Balm in Crazy Coral. I picked this one up on Saturday for $10 and can’t wait to go snag the other shades it comes in (a bright pink & purple). It feels like chapstick, looks like jello, smells yummy, and leaves a bright orangey-peachy popsicle looking stain on my lips! I seriously can’t stop staring at it…it looks good enough to eat!
I’ve been pretty fixated on this color…in fact in the last 2 months I’ve added 3 tops and a pair of jeans in this color to my closet! Check out my clothing picks in this trendy shade HERE. So what do you think of Tangerine Tango? Any beauty picks off this list you’re going to pick up or already have?
Cheers to Confidence, Color, and Crazy Coral,

March 25, 2012
Hair is so much fun and I love doing my hair in new ways…the same down with curls look gets old! And honestly I only wash my hair once or twice a week (that’s better for your hair!) so learning new ways to wear my hair up is necessary!
When I saw Nicole Richie on the red carpet at the Golden Globes with this amazing hairdo I felt super inspired!

Then, when I saw the character Rebekah on Vampire Diaries with a very similar do I knew I just had to create my own version of this look! Is it a ponytail? Is its faux-hawk? Who knows! I guess I’ll call it a punk ponytail…

So here’s what you’ll need:
A hair-tie, a comb or brush, a few bobby pins, and some hair spray
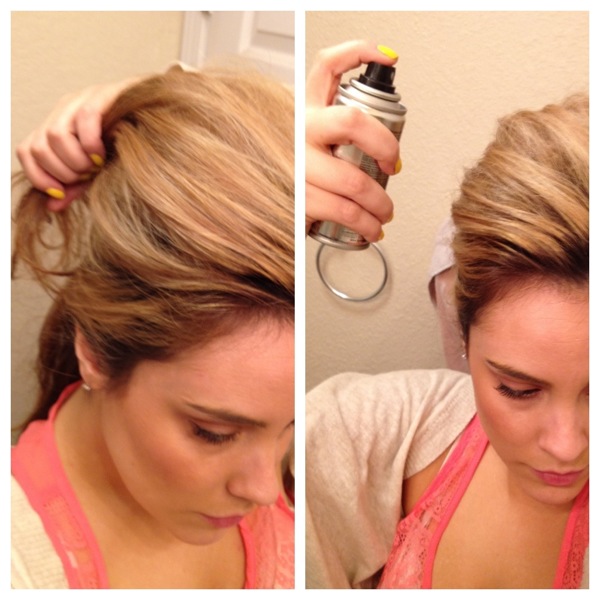
Comb out your hair and either straighten or curl it. Mine is left over wave and texture from the previous day. Create a deep, defined part on one side. Section the top portion of your hair to create your faux-hawk.
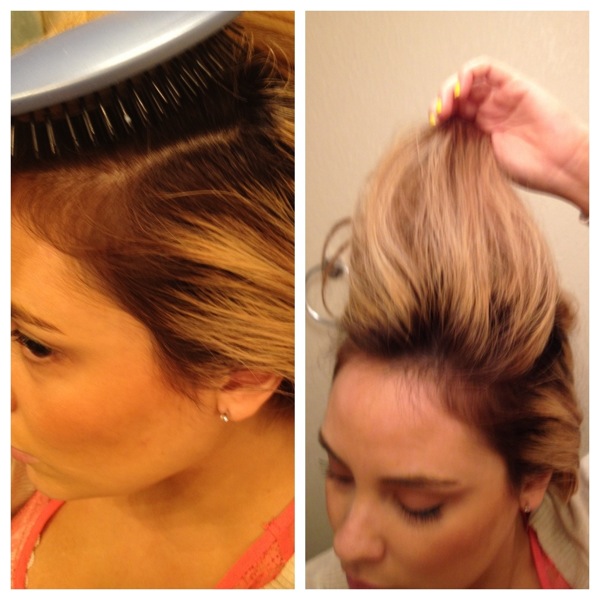
Tease the top portion of the hair that you sectioned off and smooth over the front of the hair. Take your comb and slick back both sides of your hair. Secure with bobby pins (like your doing some up/some down) and spray.
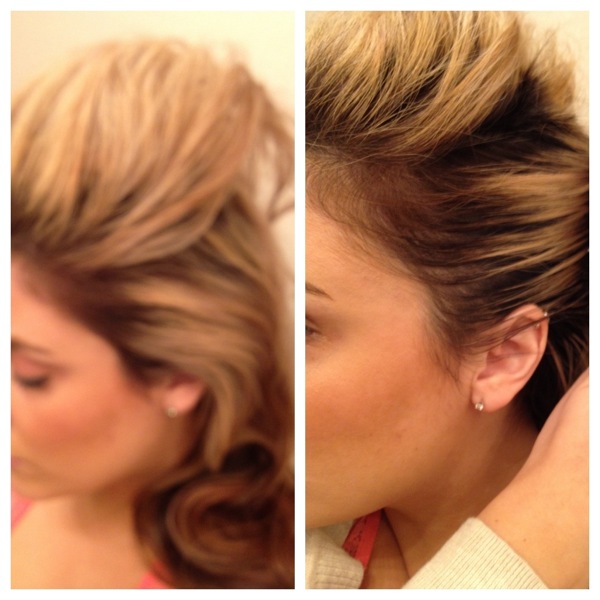
Your hair will now look something like the left picture below. The top teased hair is left out on top separate from the slicked back sides that you’ve secured. Gather all of the hair, except for the top section, into a ponytail and secure with a hair-tie.
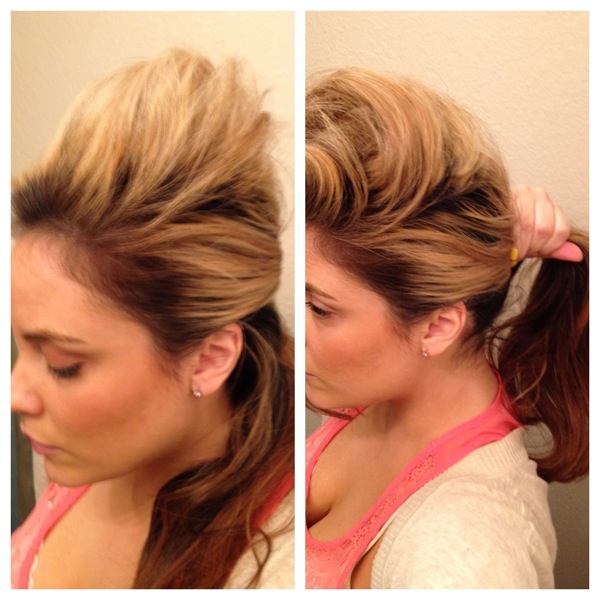
Arrange the top section of hair so that it lays over the back ponytail and slightly swooped toward the side opposite of the deep part. Tease more if necessary. Spray the heck out of it!
And there you have it!
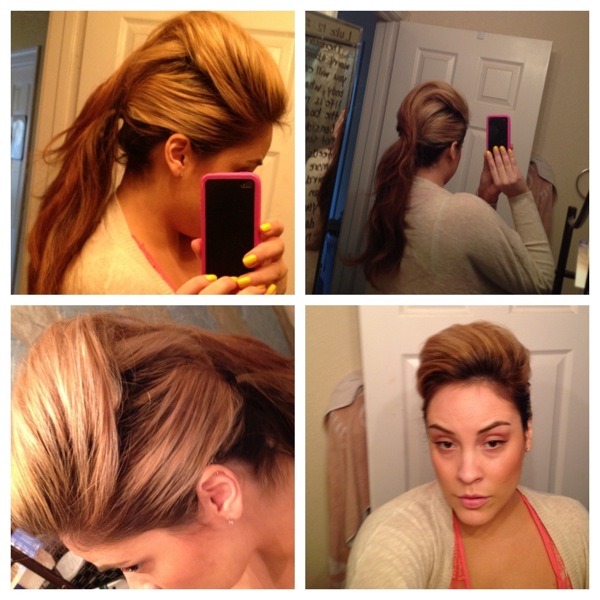
Side note: If your hair is all one length, then the top portion of hair that you teased will lay over your ponytail with that “cascade” effect that Nicole Richie’s hair had. In that case, be sure to hairspray the underside of the teased hair generously. My hair is layered and the top layer quite short, so it barely grazed the top of my ponytail.
So Cheers to Hairstyles that looks good on the Red Carpet, on Vampires, and on Regular People too!

March 7, 2012
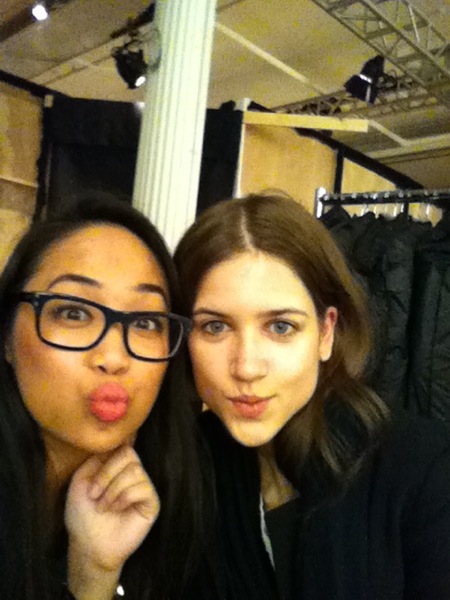
I’d like to introduce you to my dear friend MJ…
MJ is a professional makeup artist living in LA. She’s worked for many amazing makeup lines including Dior, Laura Mercier, and MAC. She has done everything from bridal to red carpet and from runway to film. She even has worked with the D-O-Double G himself!(Umm that’s Snoop I’m referring to haha)
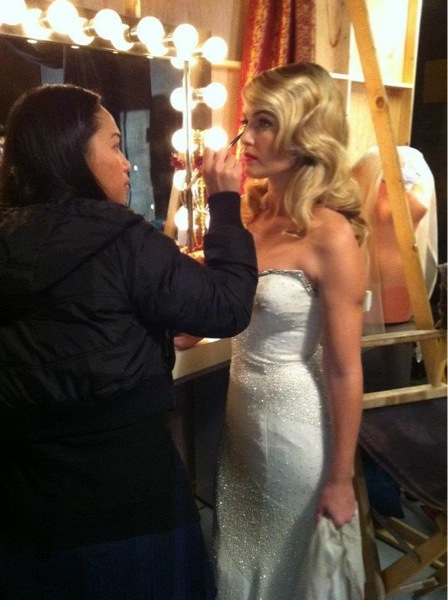
Most recently she worked backstage at NYC fashion week! So she is giving us the scoop today on what it’s like backstage!
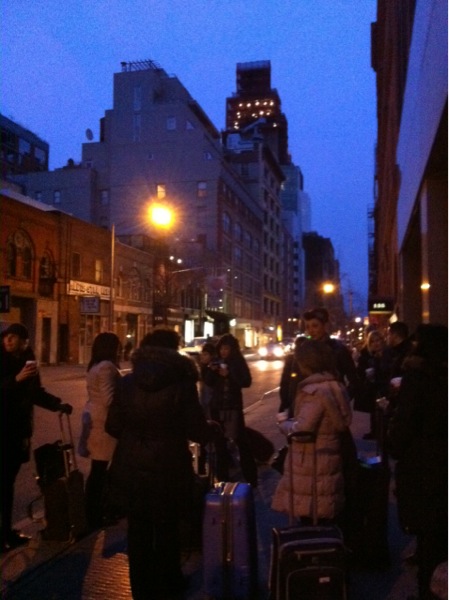
MJ: I was running on not a lot of sleep! It was a very looong day flew in and hit the ground running the morning! Early call times! But then really, who sleeps during fashion week?
I was backstage for 2 days with 3 shows per day so it was a lot of work! The shows I worked on were at the Metropolitan Pavilion in NYC. Bebe, EMU Australia, Theia, and Malan Breton were among the designers I was able to work with.
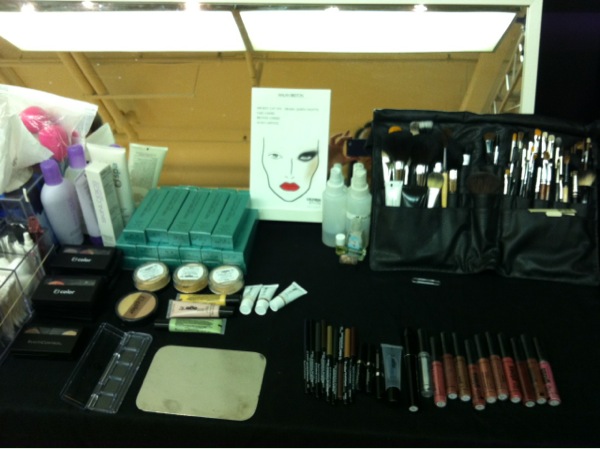
Beauty Control was the beauty sponsor so they provided the makeup, skincare, foundation and all the color to use on the models! (Which she got to keep! Jealous!)
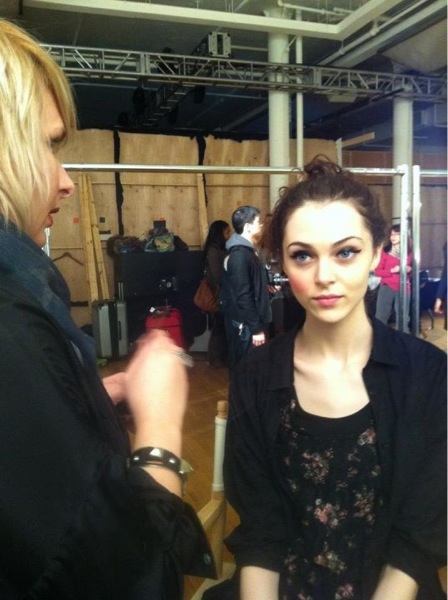
It was very intense…station prep, demo from the Viktorija Bowers (the lead artist) and then everyone just attacks the models…I always had to make sure that I had someone in my chair. Everything gets done at the same time: hair, nails, makeup. So you have to be focused and quick! No time for stargazing. Ahaha.

I was able to actually watch most of the shows!
There was barely any time to sit but you don’t really notice until your done because the energy is so high! Theia was my favorite show…everything was on point and perfect. After that particular show, they received a standing ovation…some people even had tears in their eyes…I thought: this is the reason I do what I do…moments like this…its not always this way but I felt so lucky to experience a moment like that…everything was perfect and I was able to be a part of that!
I was fortunate to be partnering with a great team, which really can be attributed to the lead artist… She was so down to earth and encouraged us all to not be afraid or hesitate, that we are good artists, that why we were there so just trust our skills and go for it!
Here’s a video backstage at a show MJ worked at! Can you spot her?
BC NYC Fashion Week 02.12 Recap from Jason Smith on Vimeo.
Did you spot MJ? She was at the :42 mark! Stay tuned for another post from MJ as she gives us the scoop on the beauty trends she saw on the runway!
Cheers to Fashion week, to NYC, and to Perfect Moments,

February 23, 2012
Happy Valentine’s Day everyone! If there ever was a day to feel pretty, today would be the day! Whether you have a hot date, or are going to hang with friends, or if you (like me) are actually going to be sitting at home alone <<insert violin music here>> a good makeup look will make the day and night even more pleasant.
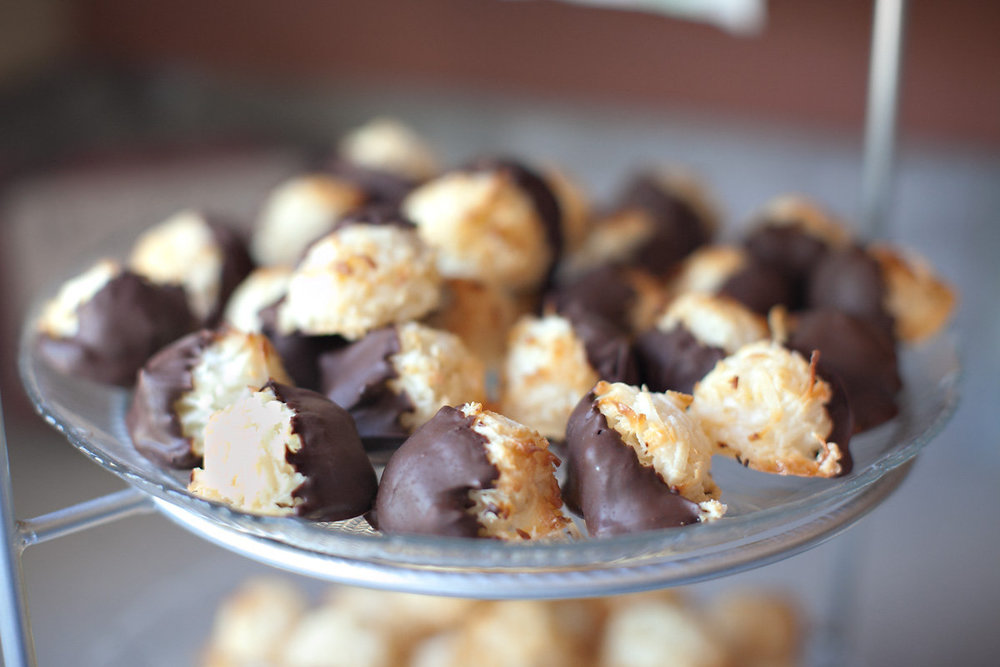
You know what else will make today great? Chocolate! I had the privilege of doing a guest post on a cooking/crafting blog today so you have to go check out my post and tell me what you think! I blogged the recipe to my mom-in-law’s chocolate dipped macaroons! Yum-O!
Don’t they look tasty?? Click here to get my recipe or just click on the picture of the macaroons! It’s not Valentine’s Day without a little chocolate!

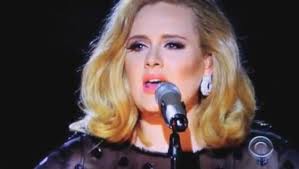
So I planned a Valentine’s tutorial and then lo and behold Adele’s Grammy look was almost it exactly! So I made a few slight changes to match what she did!
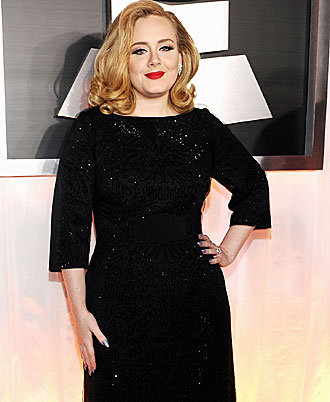
Don’t you love her? Amazing talent and full of confidence…definitely doesn’t fit the normal Hollywood mold! So grab your brushes and red lipstick and settle in for a Valentine’s makeup look!
Ok, so if you’d like to do Adele’s look from her actual Grammy performance here is what you do:
They built on top of her red carpet look…so do the look in the tutorial, then add additional deep matte bronzer (contour) underneath your cheeks. She appeared to have a soft pink gloss on her lips so opt for that over the red lip. Since she did have a bold matte red lip on the red carpet it is more than likely that her lips had a slight stain when she removed her lipstick and that she put a neutral or clearish gloss on top! Then take a matte black shadow with your crease brush and work the color into your crease and into the outer third of your lid (that “v” area). That’s it folks!
Cheers to Valentine’s Day, Macaroons, and the lovely Adele,

February 14, 2012
I’m sure you’ve all seen this trend…whether in hair or clothing it’s seems that ombré is everywhere!
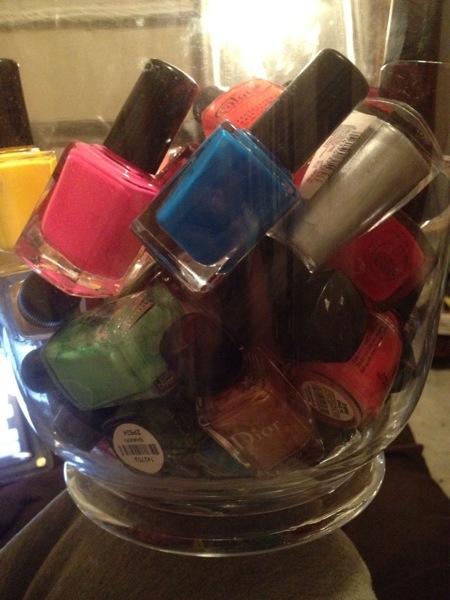
Well tonight a little bit of boredom forced me to try the trend on my nails! I’ve definitely seen this done before and always thought it looked lovely but never sat down and tried it…as I was staring at my huge vase of nail polishes (that’s how I store mine…how do you store yours?) I realized I had a ton of yellow, coral, and orange polishes…
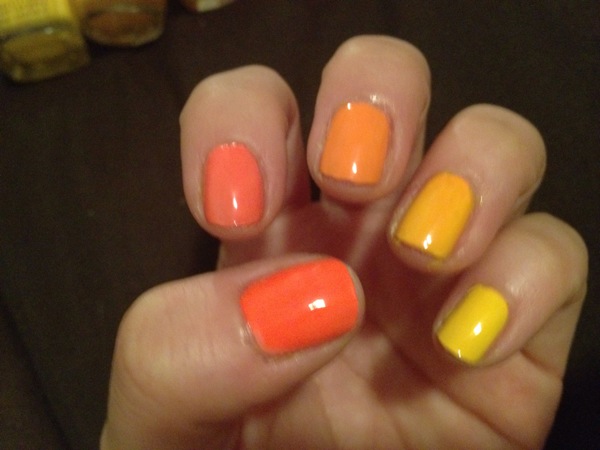
So I picked the 5 that seemed to show an ombré progression…
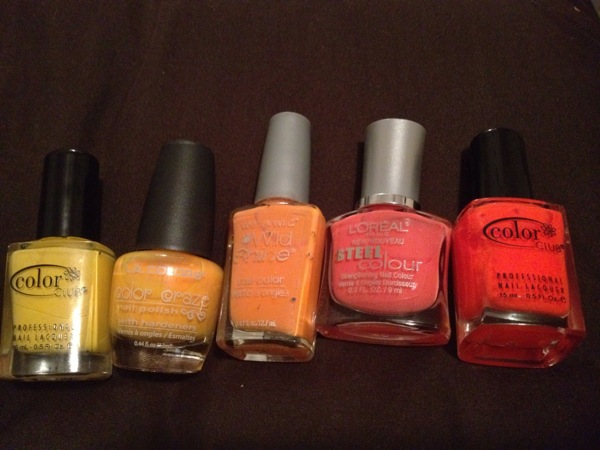
And voilá!
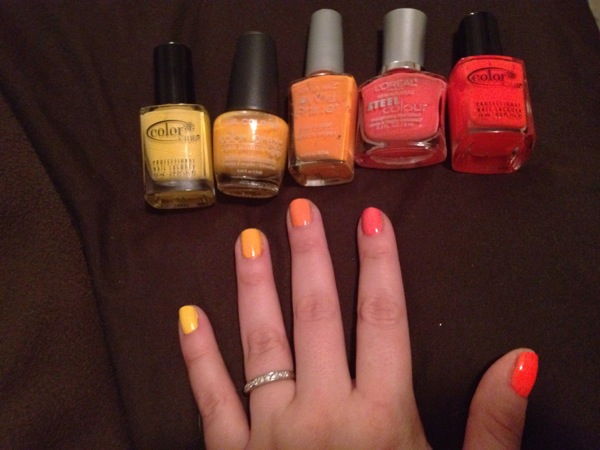
I’m quite happy with how it turned out and now wishing I had tried it sooner! It only took me a few minutes and I love that it’s a nail trend that takes no skill! Ha ha! As you know, nail polish is one of my biggest beauty loves and it seems new fancy ideas and trends with nails pop up daily! Love that!
So what do you think? Would you give this trend a try?
Cheers to Nail Polish, Ombré, and Boredom fixed by Beauty,

February 13, 2012
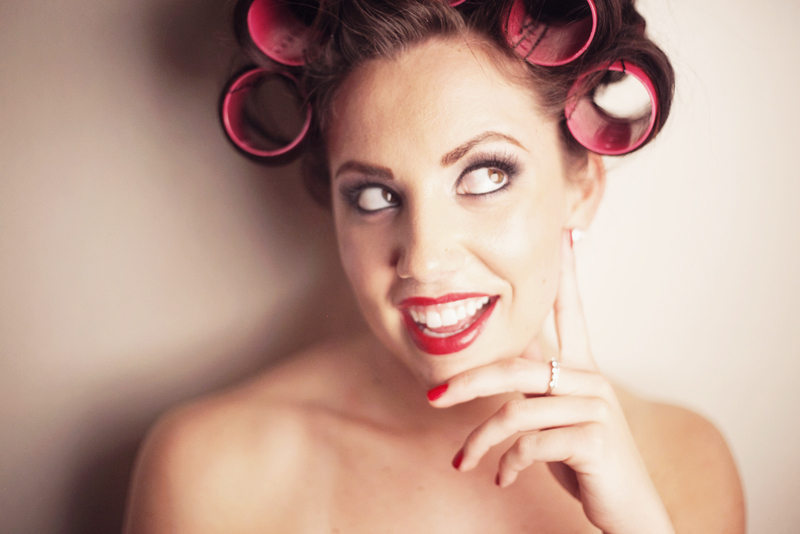
I spent years curling my hair wrong…ok well maybe not wrong, but in a way that didn’t give me the most volume and lasting power for my style! Ashley Bryditzki to the rescue!!!! My hair stylist friend Ashley taught me how to “properly” curl my hair last year and my life is different for it!
Ok I may sound a bit dramatic…but seriously folks, this technique really helped me and I don’t know how I went so many years without knowing this!
Side note, I still curl my hair “incorrectly” occasionally (shh! don’t tell Ash!) but when I do its intentional because I want a soft natural ended look.
What you will need:
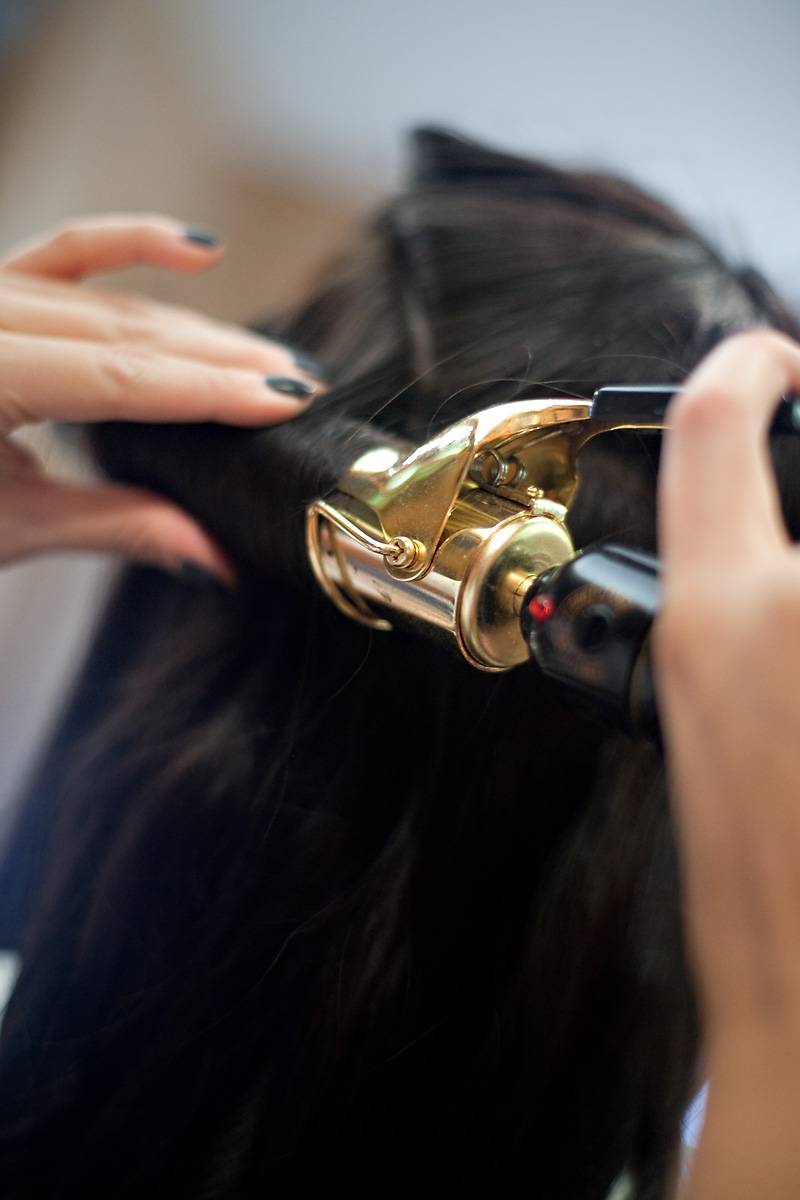
- A 1″ to 2″ barrelled curling iron (If you have fine thin hair, a smaller barrel iron will be better) Ashley used a 1″ barrel curling iron by Hot Tools on me
- Your favorite hairspray…Ash prefers Hard Head by Bed Head
- Optional: shine spray for that extra silky look!
Here is Ashley in action to demo the perfect technique for that bombshell perfectly curled hair! Enjoy!
Cheers to Hairspray, to Curling Irons, and to Bombshell Hair,

February 9, 2012
Part of what makes a wedding special is putting in little personal touches or unexpected details…I especially love it when a bride decides to throw in an accessory that’s more on the fun side or even a little trendy!
A few things I see fitting in with bridal trend during the cold seasons…
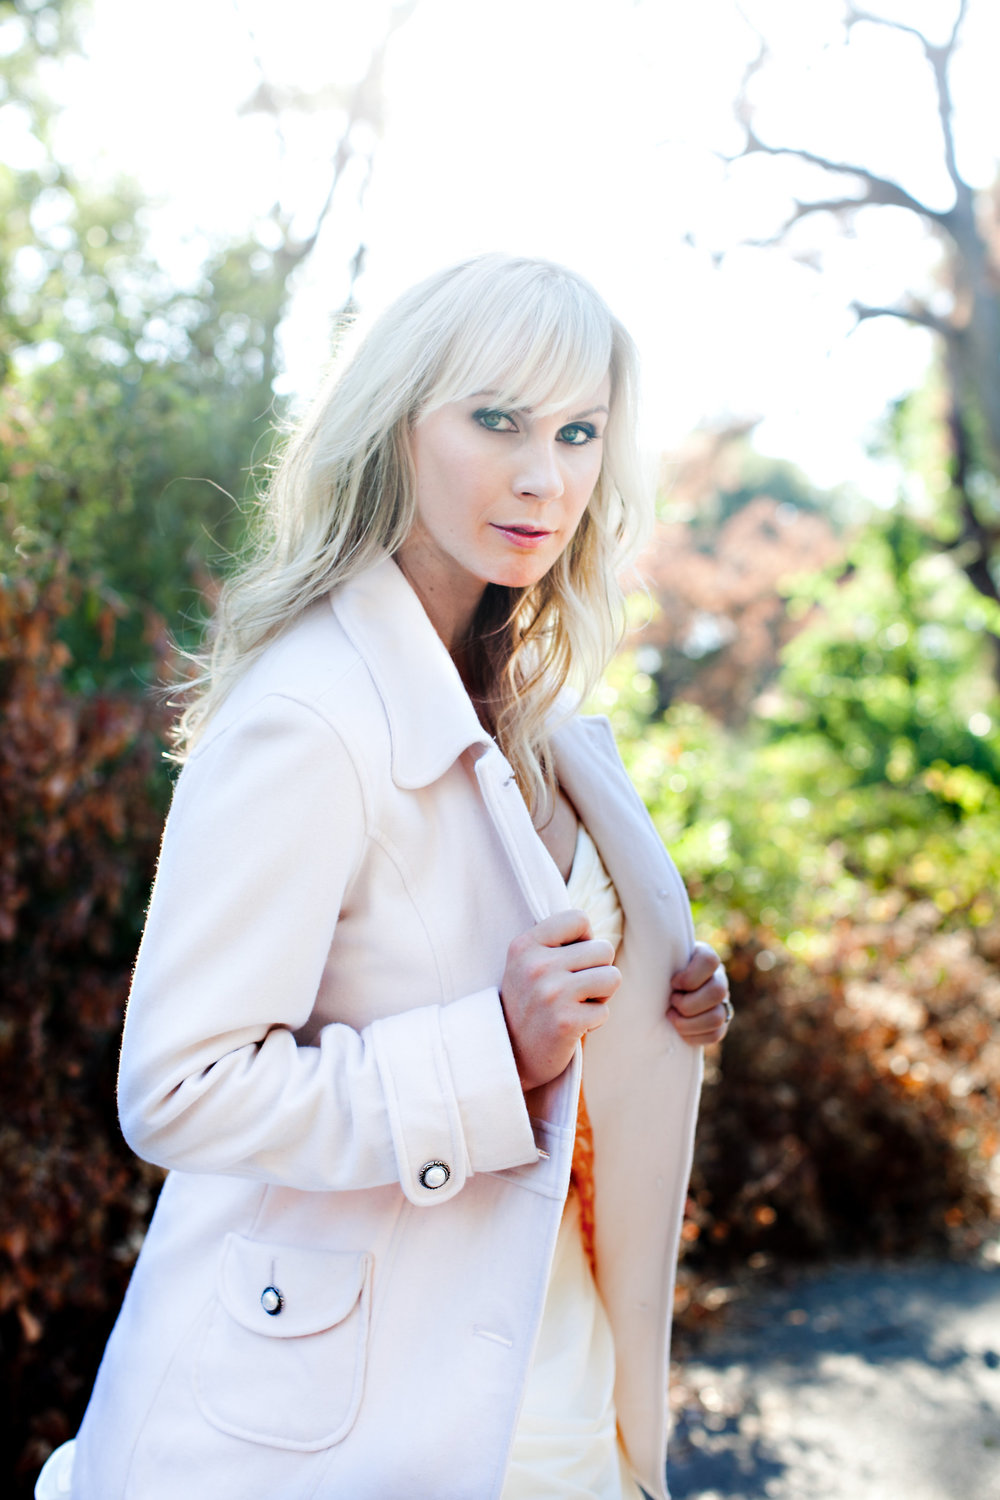
What better accessory for a chilly weather wedding than a pretty coat?! Definitely a good idea for some cute pics outside before you walk down the aisle! DIY Tip: this coat is from the juniors section in Nordstrom…every year they sell peacoats in all colors for around $50 (sometimes cheaper if on sale!). They come with basic buttons that looked very casual so I went to the craft store and found these gorgeous antique inspired pearl buttons. A quick button swap and voila! A fancy-shmancy coat!
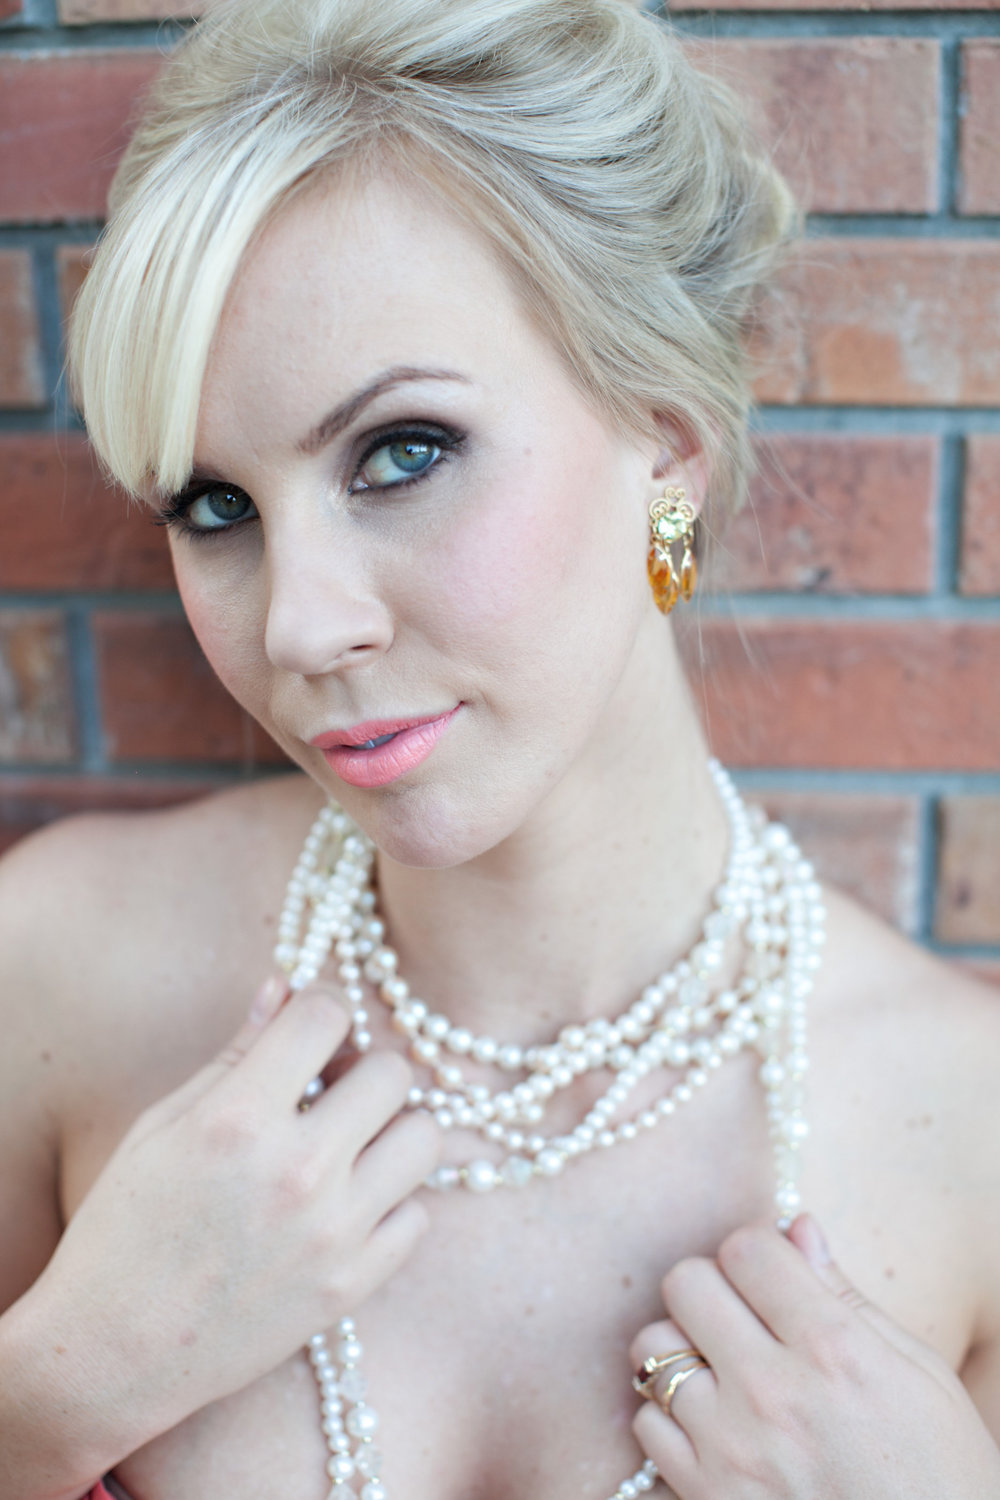
Are you a lipstick or vintage loving gal? Opt for vintage earrings, layers of pearls, or a punchy lip (or as in the case of our model all 3! Ha!)! A bright peach is a great way to rock the vintage look while still being current (bright lips are huge this fall in makeup trend!) and is a nice change from the usual red. Upswept hair with a little texture completes this look (styling compliments of Ashley B!)
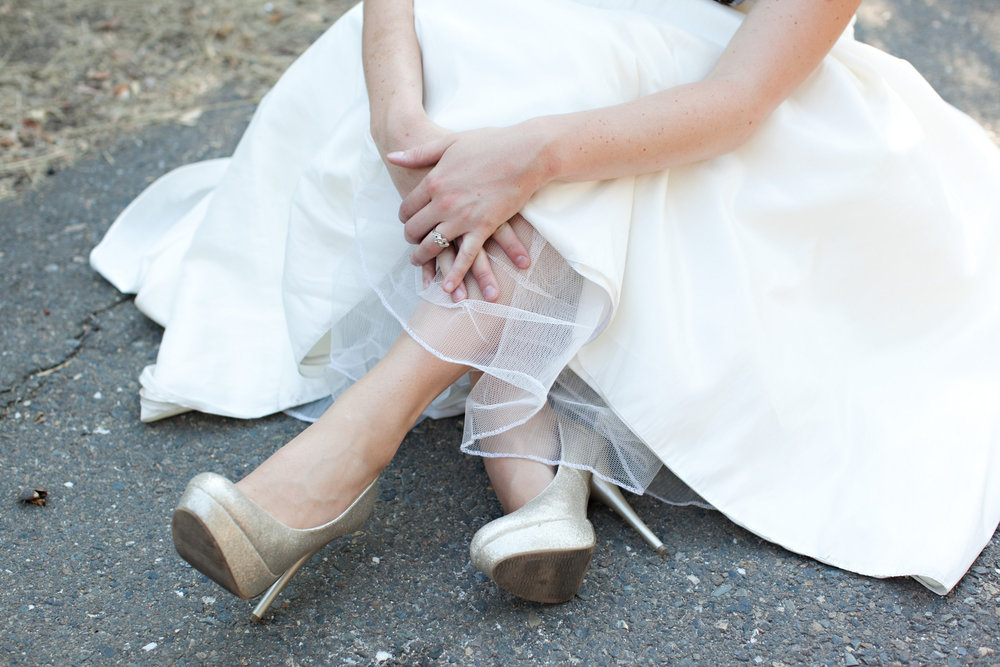
Sparkly heels! Who wouldn’t feel like a million bucks in these glittery gold colored babies?! I’ve seen versions of these all over the place and they can be pretty pricey. Our lovely model Ashleigh snagged these at Target! I would have never guessed…they were stunning!
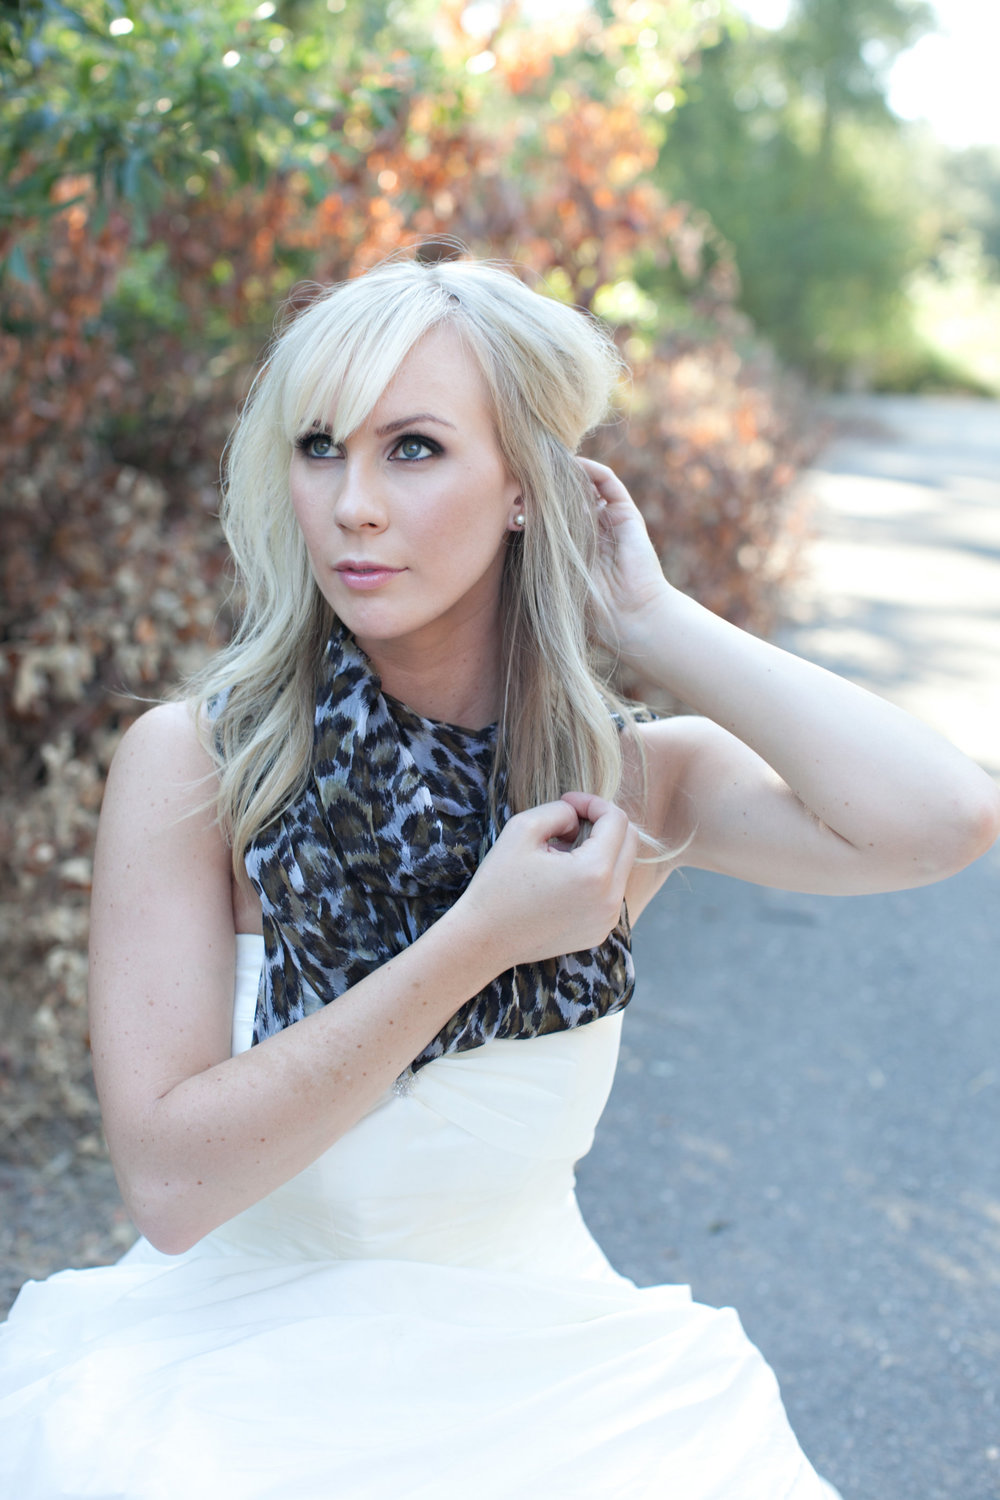
Another cold weather accessory: a scarf! Snag one in a shade like your wedding accent colors. Avoid bulky knits and opt for more of a pashmina or a chiffon or silk scarf. Looks cozy while still being classy! Love trends and fun bold statements? Go for an animal print! Again this can be for pics before or after the ceremony or better yet: before you enter your reception lose your veil and wrap a gorgeous scarf around your neck to change up your look!
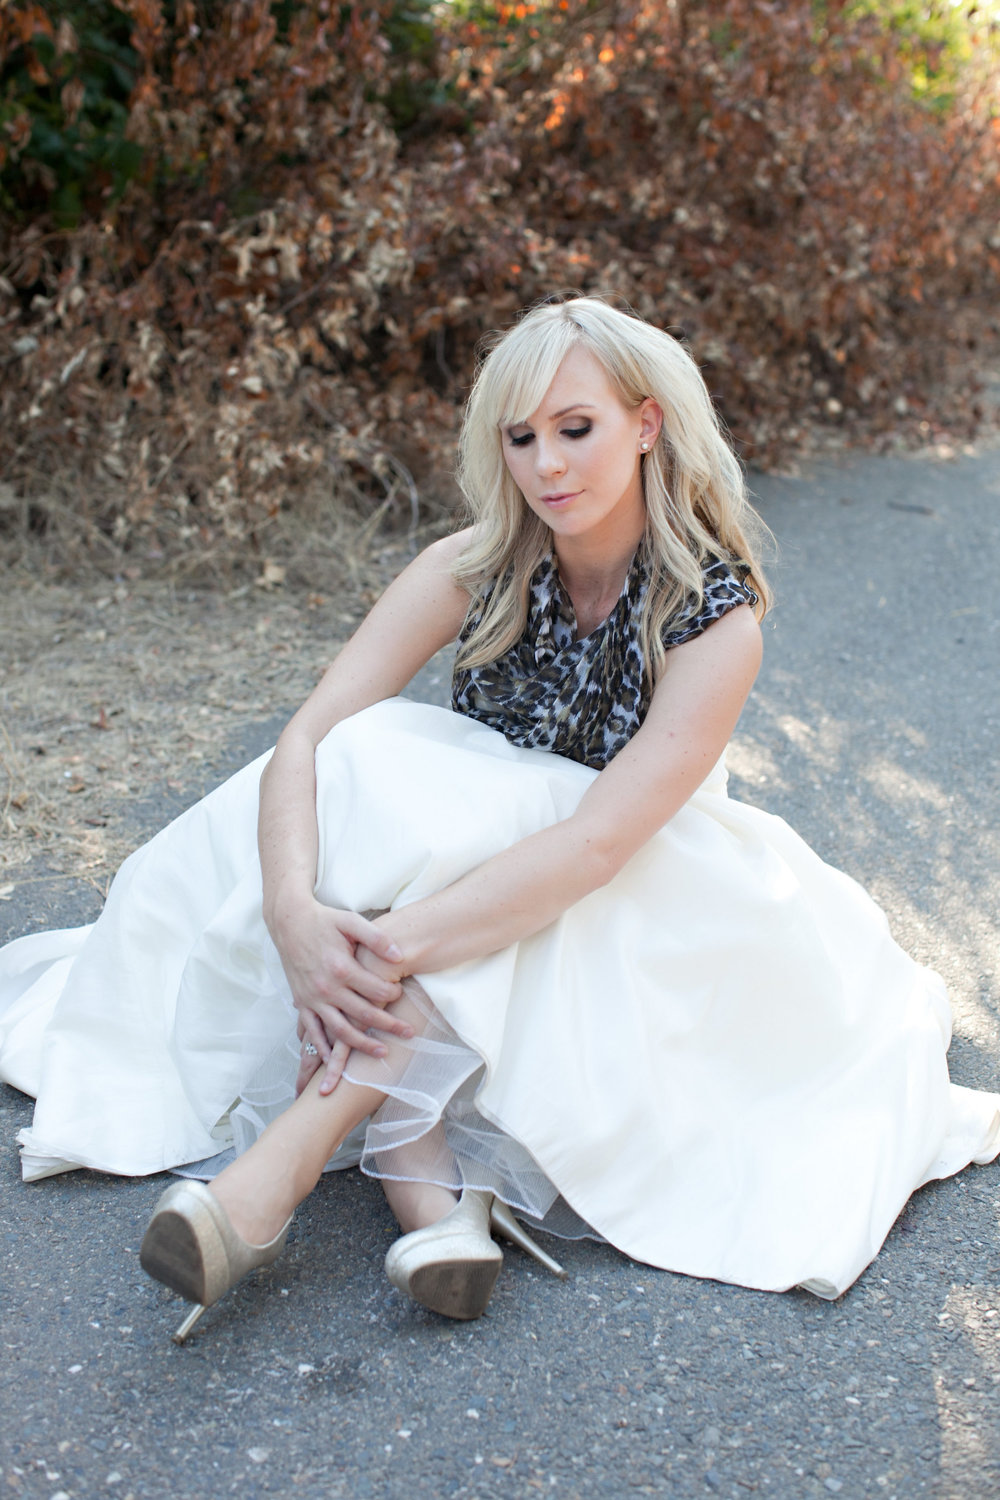
A classic smokey contoured eye is always in style! To learn how to do this makeup look click HERE. Ashleigh looks absolutely lovely don’t you think? Thanks for the amazing pics Lydia Photography!
While classic is always nice, there’s nothing wrong with your wedding or your bridal style reflecting who you are at the time you get married! Don’t pass up on something you like because you’re afraid it’ll look “dated” later in pics…guess what, it still will no matter what! So don’t be a fashion victim but enjoy the time you live in and capture it!
So Cheers to Style, Class, and maybe even a little Leopard Print on your big day!

Acessories, Beauty, Bridal, DIY, Fashion, Makeup, Photoshoot, Trend
November 5, 2011

