My biggest annoyance on my face is my under-eye area. I’m always puffy and always super dark under there…I can recall in elementary school someone saying I looked like a raccoon because of my eyes (ouch!).
As I’ve gotten older I’ve definitely picked up some tricks to help with this problem. And while I cannot say that these tricks erase them 100% they at least hide them much better and make me feel suitable for public! 😉
Here is my everyday under-eye routine…hopefully it’ll help you if this is a problem area for you too! Now, I’ve included my shades, but every face is different. The steps and types of products will be the same, but the exact shade may vary.

You’ll need:
–A depuffing eye serum (I love Clinique’s All About Eyes! It REALLY helps! Look for something with caffeine in it.)
–A corrector. This essentially neutralizes the colour under your eye. It’s important to neutralize those blueish purple tones/redness etc first instead of just packing on concealer! You’ll be able to use less concealer this way and get a more believable bright natural effect. The general rule of thumb is that peach (or pink) will neutralize. The deeper your skin, the deeper the peach you use. Very fair or pale skin will prefer light pinks. (I’m using Revlon’s Age Defying click pen in #4)
–A concealer. I’m obsessed with Maybellines FitMe concealer. I use #20 Sand. It’s very golden and works perfect for me. Pick something near your skin tone or a shade lighter. Don’t go too light though, that will have the opposite effect and bring bad attention to your under-eye area.
–A brightener. This is optional. If you’re super dark under-eyes like me, this is necessary. Totally up to you. This will help add that pop to your under-eye and cheek bone area and will “distract” and lighten everything up! (I use Flower’s Brightening Concealer in BC2)
–Highlighter. This may be part of your usual routine for eyeshadow already. If not add this step in for an extra pop of light!
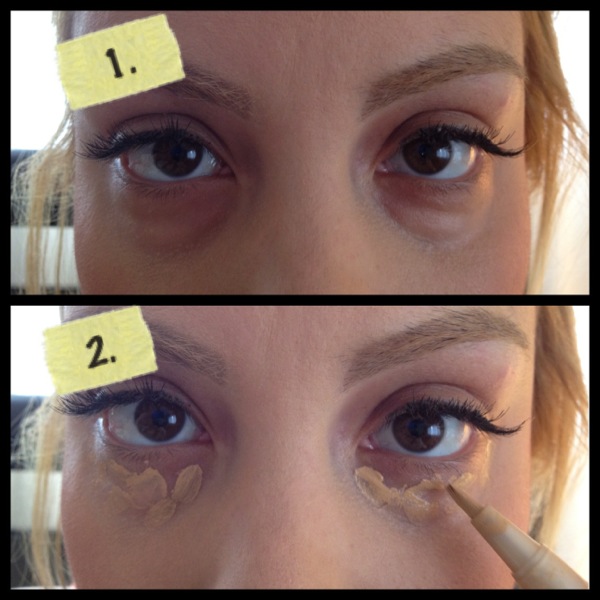
1. Yikes! My under-eyes in all their glory! Ha!
2. Apply your peachy (or pinky) corrector
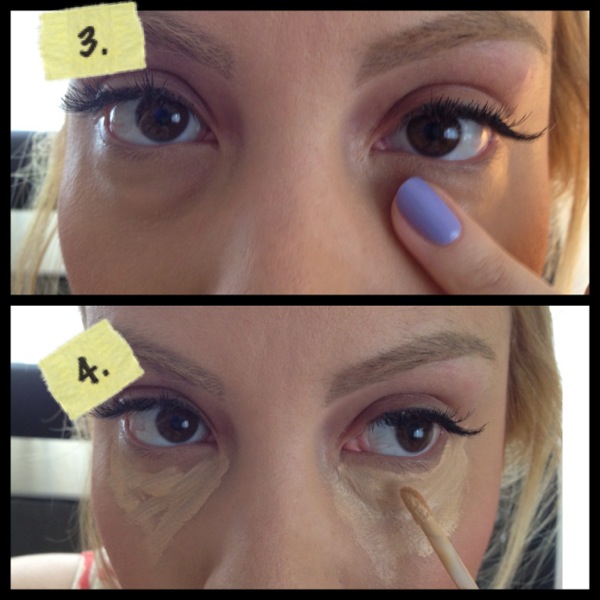
3. After each step of applying more product, use your ring finger (it’s the weakest finger, so it’s more gentle), and gently pat (don’t rub) in the product.
4. Apply concealer in a triangular shape under your eye. You want to bring it a little lower than where your darkness stops.
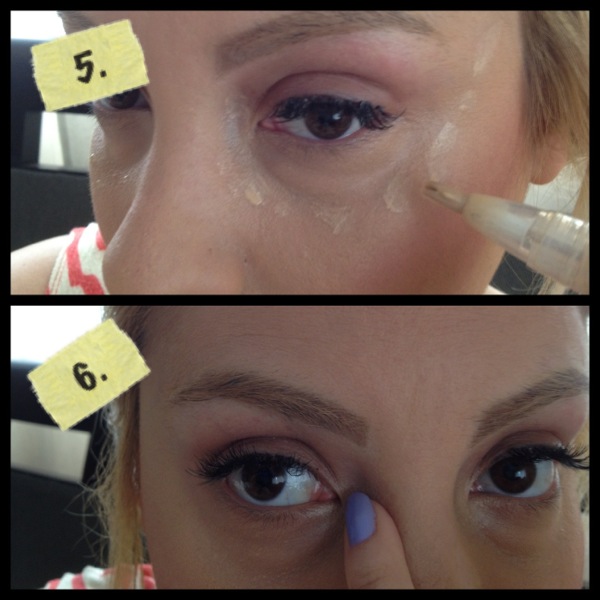
5. Dab brightener along the “seam” of where your under-eye area ends and bring up your cheek bone to your temples.
6. Dab a highlight (anything vanilla colored and shimmery will do!) in the inner socket of your eye.

7. There you have it! So much better, right?
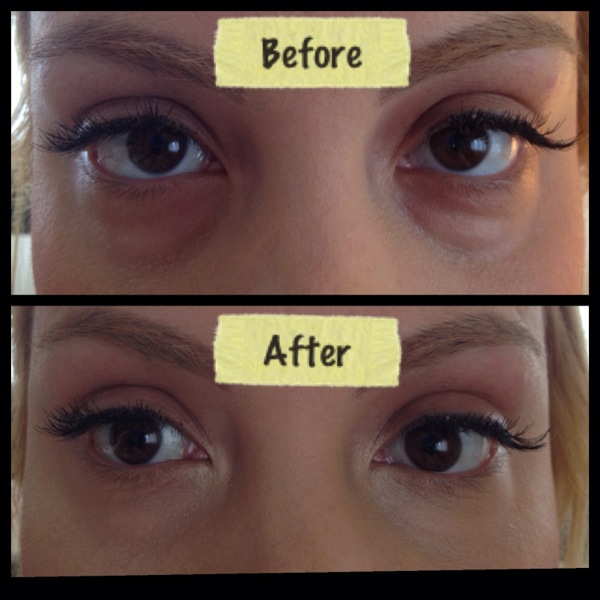
There is the side by side before and after. Hope this helps! Give it a shot and let me know!
Cheers to Correcting, Concealing, and Brightening!

March 7, 2013

BB Cream…I’m sure by now you’ve all heard of this innovative product…and if you’re like me, you’ve had some questions! (Umm like, what does BB stand for?) Today I have the pleasure of being on Smitten With Pretty where I will be giving you the whole BB Cream Breakdown: what is it, what makes it special, and who should buy it! So make sure to stop by Smitten With Pretty so you can get the 411!
I have definitely been on the BB cream bandwagon for some time now…testing and trying and comparing. I wanted to know what all the fuss was about! So here are the ones I’ve tried so far (in the order I tried them) and what I think about them…
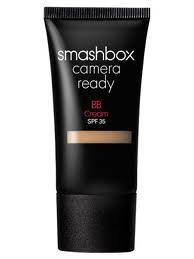
1. Smashbox $39: I liked it. “Hmm…so this is BB Cream, huh!” Felt nice, covered well for something that doesn’t call itself a foundation, and it’s oil absorbing properties were a pleasant surprise! Didn’t feel slick or overly shiny like I do with tinted moisturizers. Great to know that despite the SPF it is camera friendly. I was intrigued to try other brands to compare…
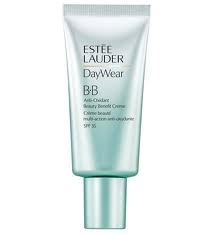
2. Estée Lauder DayWear $38: A little sticky, didn’t spread as nicely as the one by Smashbox. “Perhaps I bought too dark of a shade?? I think I’ll go back to using the Smashbox one.”
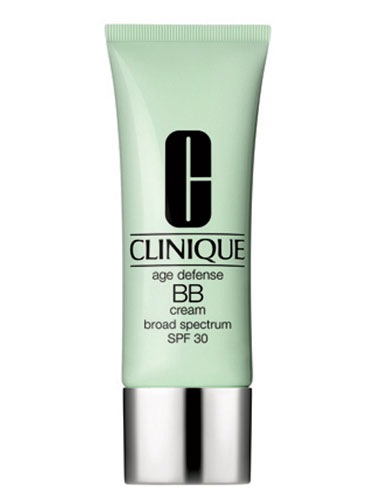
3. Clinique $37: “Hellooooo BB cream I officially love you!” Covers amazingly, anti aging benefits too? Yes please! I didn’t feel the need to wear foundation and loved that it was actually bettering my skin. Stays put all day. Instant love!
–insert me trying the Lauder one again, “I’m a little more tan now, maybe I’ll like it? Nope.” Even more dissatisfied after trying the Clinique.
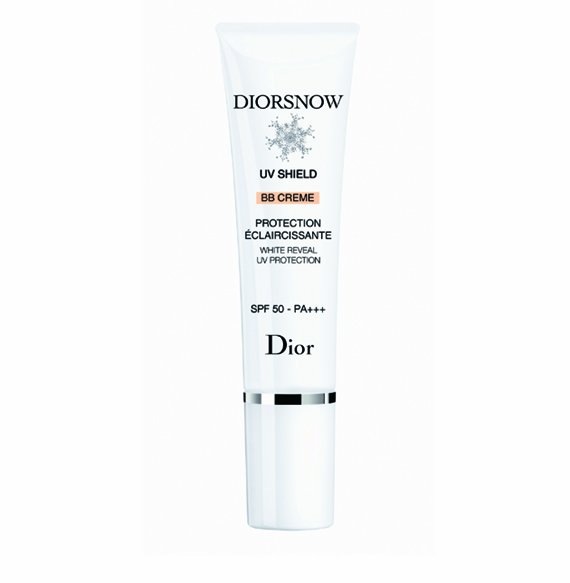 4. Diorsnow $60: “Dior you never let me down!” Texture was great, I love that it’s in the Diorsnow line (corrects tone) and the SPF 55 packs a wallop! Only currently available in one tinted shade tho. So if you have deeper skin it’ll look ashy. And if you’re tan, your face will look lighter than your body. So for most this will not be a stand alone product, you’ll want to use it under foundation. But if your fair complected, it’s perf! Consider this your sporty BB, your go to the gym or hiking or beach makeup option! I’m curious to try their Hydralife BB now…
–insert me trying Lauder again, ” I will like this, I will like this! Ugh, no I feel splotchy and like it just doesn’t settle right!” Boo! I really wanted to like you! BUT what I will say is that I think a dryer or more mature skin may really like it. Just not right for me I guess.
–Continued to alternate between the Clinique and Dior. Oh ya what about Smash? Used it again for a couple days…nice! I still think Clinique is better tho.
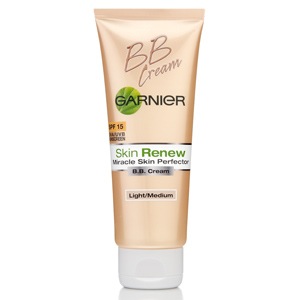
5. Garnier $12: “Ok my drugstore dare, what do ya got? Hmm…” Not bad, definitely a good budget friendly option. But not as good as the others I tried. More sticky, not as great of coverage. Reminiscent of tinted moisturizer–insert Lauder flashbacks–So comparable to Lauder’s I suppose.
Well, there is my honest detailed journey with BB cream…which took well over 2 months by the way! I definitely liked Clinique the best, and loved the Dior for those extra sun-filled days. When it’s all said and done, I’d say BB is a must for everyone! Make it your Summer best friend (It’ll probably end up being your favorite for every season! It will be for me!). You just can’t beat the benefits!
Cheers to BB Cream, Best Friends, and Benefits,

May 18, 2012

Another common bad beauty habit: Not washing your face nightly. Oh my…I don’t even know what to say, not washing your face at the end of the day is pretty much a sin! And I shouldn’t even have to explain why you need to do it…but just in case, here’s a reminder why…
Regularly cleansing your skin is necessary to remove makeup and other things that clog your pores, help facilitate cellular turnover (i.e. wash off your dead skin cells), and to remove just the regular dirt and germs etc. that your face naturally comes in contact with during the day (even if you don’t wear makeup!).
Perhaps you’ve heard people refer to it as washing the day away (Clinique even has a remover called Take The Day Off!)…this can be taken quite literally. Think of all of the pollution our skin encounters during the day, bacteria from our hands or people around us, and the natural oils and sweat we produce too…Are you convinced yet??? This is just waaaaay too important to not be religious about!
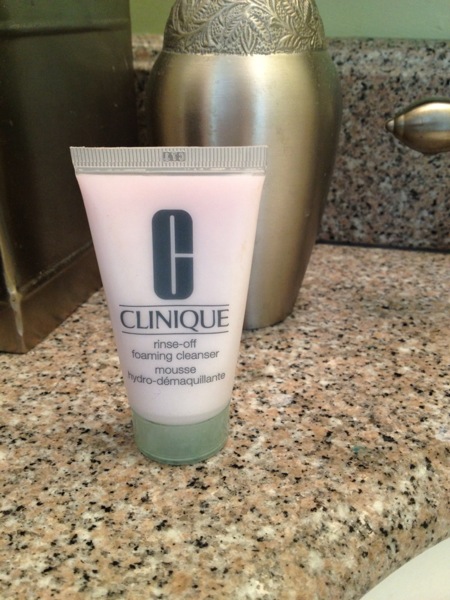
This isn’t the exact product I mentioned above…but I did recently get this travel size bad boy in Clinique’s GWP this Fall at Nordy’s! Right now I am typing this from a lovely beach house in Santa Cruz…this cleanser is my offical travel cleanser now! Really loving it!
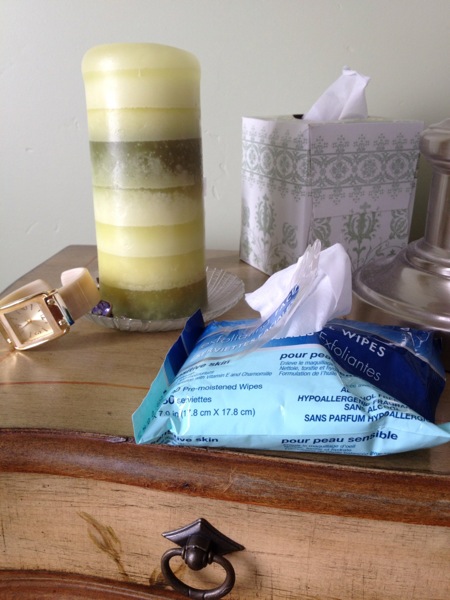
Lazy about your skincare? Make it easier on yourself…keep cotton pads and a cleanser that is not water activated, or even better yet, face cleansing wipes! The ones above I purchased at the Dollar Tree…yup, only $1 and great ingredients. So you cant even use the reason of it not being affordable! Something is better than nothing…and if you keep your evening routine in your nightstand you’ll have no excuse!
So Cheers once again to Breaking Bad Habits, to Small Changes with Big Results, and to Better Skin,

January 5, 2012
