

Over the last year, I’ve made it a point to familiarize myself with non-department store makeup brands. And sometimes you find winners and sometimes you don’t. But while I love my luxury brand products (Hello Dior Airflash!), not everyone can or wants to spend $65 on foundation. Plus, while we all have brands we prefer, it’s never a good enough reason to use something just because of the name! I love using a variety of brands, and ultimately choose things based on what works for my face (or my client’s faces!).
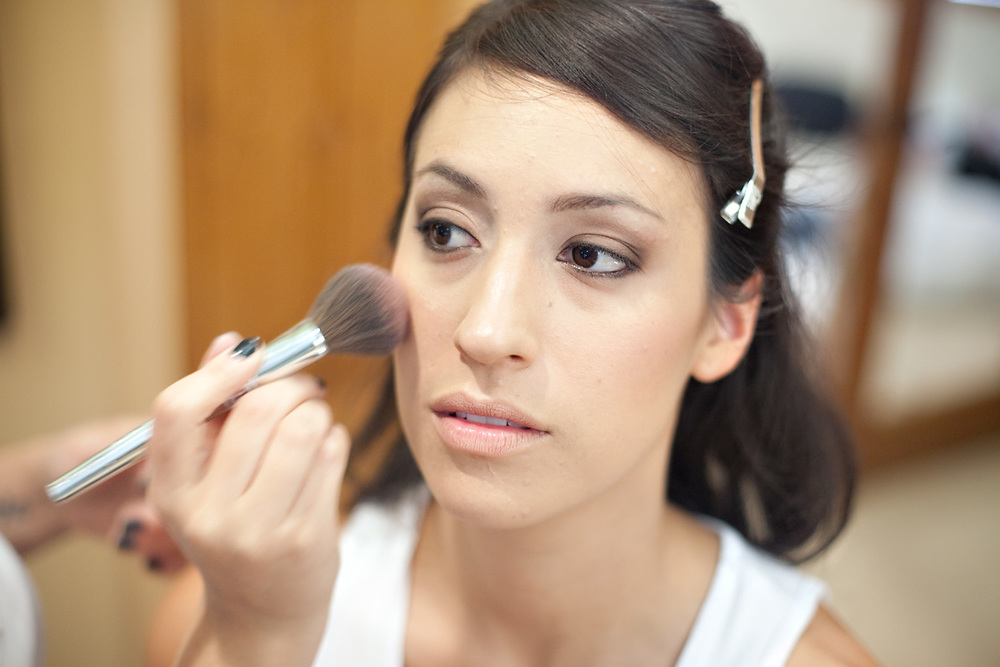
Today I challenged myself and decided to replicate my daily beauty ritual with more affordable drugstore options…Here is the result:
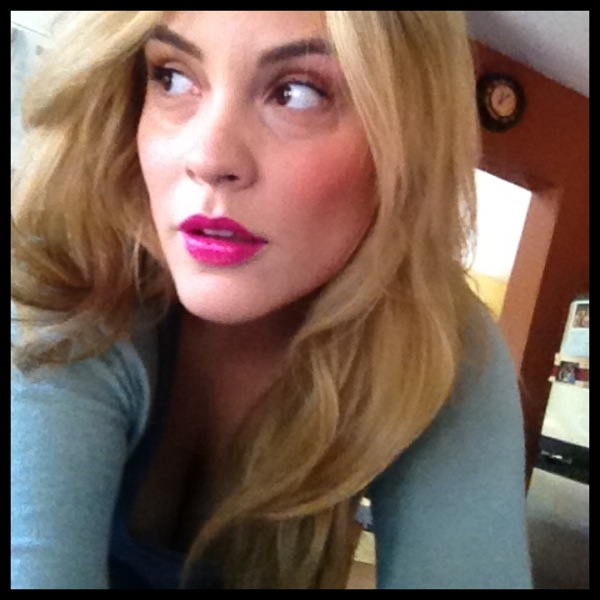
I was happy with how it turned out! I keep things fairly basic on a daily basis. I focus on my complexion and skip eyeshadow, liner and mascara. I usually wear a bold lip, and lashes though.
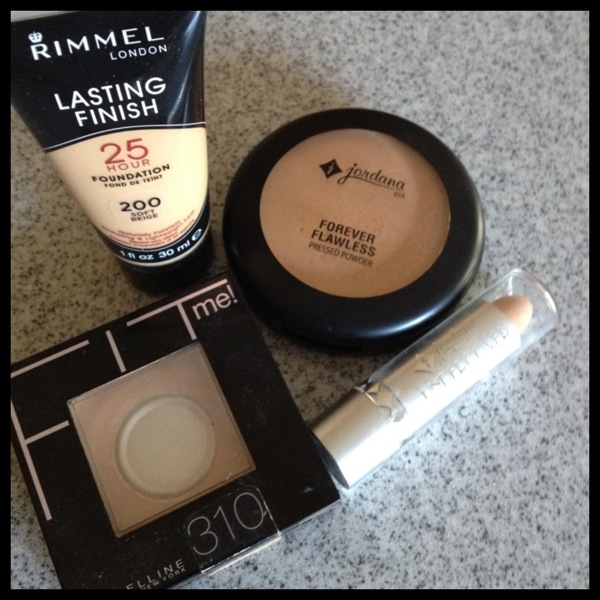
For my complexion I used:
1. Rimmel Lasting Finish Foundation in #200 Soft Beige: $7.50
2. Maybelline FitMe powder in #310 to set my foundation with: $6
3. Jordana Forever Flawless pressed powder in #106 Light Honey as a bronzer: $1.25
4. Jordana Undercover Cream Concealer in #03 Soft Beinge for under my eyes and around my nose, et cetera: $1.25
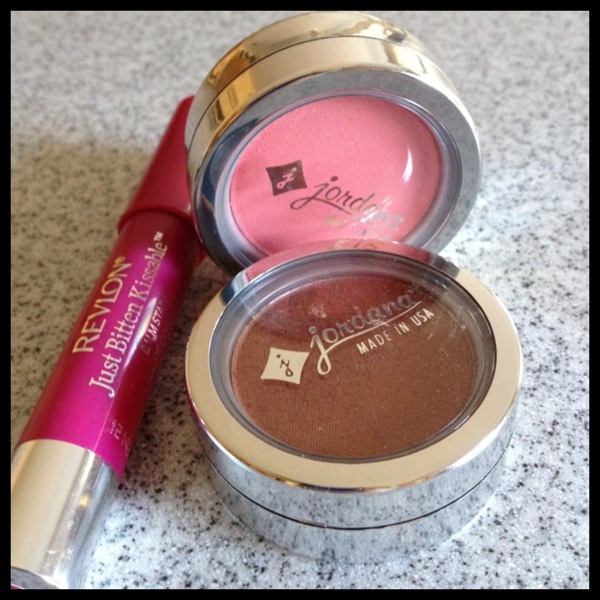
For color I used:
1. Jordana blush in #17 Rouge: $1.25
2. Jordana blush in #2 Bronze for a little dimension: $1.25
3. Revlon Just Bitten Kissable in #030 Smitten Eprise: $8
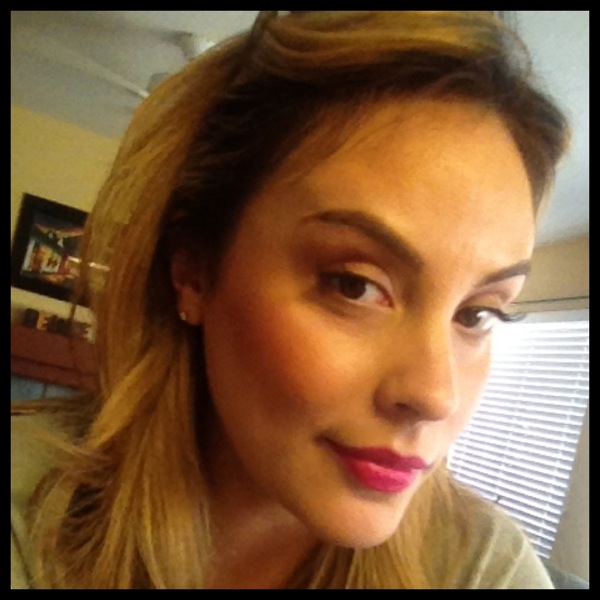
And here is what my face looked like 8 hours later. Everything held up great! No touch ups at all, except one lip touch up! Not too shabby for less than $30 right?
Cheers to Beauty, Budgets, and Being Frugal,

September 5, 2012
Ahhhh blush…I love blush…in fact I think its my favorite makeup items in general! I mean, if you’re looking for one quick thing you can do to kick up your look, refresh your complexion, add life to your face, or just look pretty in general, blush is your answer!!!
I love blush so much that I am totally guilty of over-using it on myself. Most days I’m like “I need MORE blush!” and I have to tell myself to calm-the-heck-down so I don’t look like I joined the circus! Just kidding…but for reals!
Blush can be intimidating though…I feel like many people seem confused over what shade is best or where exactly to place it . Then there are always questions like how do I make it last? What formulas are the best? Well, fear not and listen up…here is the skinny on blush!
Okay so first, a disclaimer: I hate “rules” when it comes to makeup. They are just counterintuitive for me…and anytime someone starts a piece of beauty advice with “Always…” or “Never…” just plug your ears and run for the hills! That being said, here are a few things about blush that I have learned along the way…
1. Pick a shade that compliments your skin tone: This point could get complicated so let’s boil it down to the age-old saying that opposites attract! I love how a blue (or cool as some people call it) undertoned blush pops on skin with yellow undertones (think pinks, roses etc)…and I think that if you have pinky-cool undertoned skin that you are best off using a yellow undertoned blush. Rosy complexions look best with peachy, golden or brown bronzey based blushes…a true pink just tends to make you look pink all over. Lobster much? Not sure what your undertone is? Ask a local makeup counter (or me if we run into each other!). So FYI, I have more of an “olive” tone, and I get pretty yellow when I pale-out in the winter…and I love all blushes…peaches? Yes! Hot pink? Double yes! I think olive skin can get away with most any shade…So ultimately, pick a shade that YOU love!
2. Placement…Ugh I almost don’t want to include this because there are SO many opinion on this…for the most part though, start at the high point of your cheek bone or the “apple” of your cheek and sweep back. Try to avoid getting too close the nose so you don’t look like Raggedy Ann (anyone remember who that is??) On a rounder face I like to start a smidge further back than normal since the closer the nose, the rounder I think it can make a face look.
3. Formula? Ah that my dear is a matter of opinion! Oh you want mine, you say? Well if you insist…Since I am a blush lover to the core I prefer anything that is super pigmented. NARS is one of my favorite brands, one light swipe and I am good to go! But for others, a more user friendly formula is the way to go…try Dior or Laura Mercier. If you’re on a budget try the ones from ELF they are great too!

4. How to get it to last: In makeup, longevity is partially based on formula, but also on technique and layering! Try layering a liquid or cream blush underneath and setting it with a powder blush for ultimate wear! I love the tints from Benefit and I even use my MUFE flash palette for that as well!

A little less confused? I hope so! Now go perk up your day and throw on some blush! You won’t regret it! 😉
Cheers to Peach, to Pink, and to things that make us blush,

October 5, 2011
We’ve all been there…one more swipe of mascara, or a quick dab of blush, and you would be out the door but then the unthinkable happens: the uncontrollable urge to sneeze, a slip of the hand…Ugh!! No need to fear, take a deep breath…
lydiaphotography.com
Here are a few fast fixes that have helped me! I hope they help you too!
I got a little excited over my creme (or liquid) blush!
If it is still wet and has not set, then use a cotton ball to wipe off any excess. Next grab your foundation brush and blend another layer of foundation on top. Then set with translucent powder. This will not only tone down your blush but create the illusion of that “lit from within” natural flush that we all want!
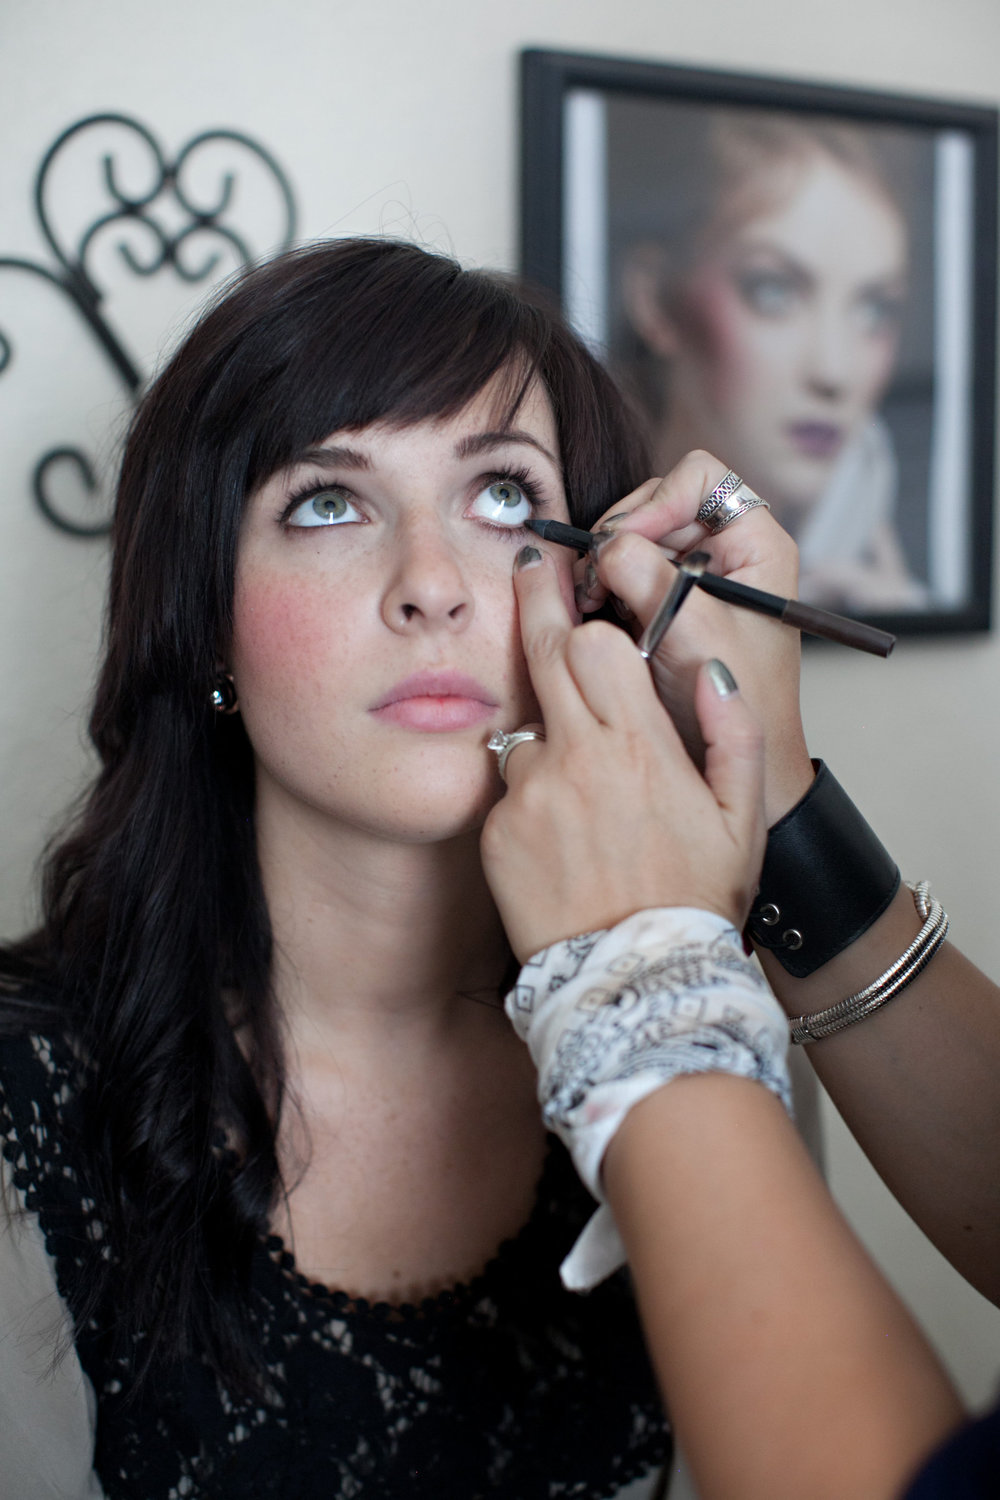
My lashes touched my eyes/face while my mascara was still wet!
This blunder is SO common! Trying to clean it up can potentially ruin your look but it has a VERY simple solution…seriously folks, this changed my life…Wait and let it dry…Yup you heard me right. It’s instinctual to wipe it off but that will onyl smudge and rub it in more, and using removers will break down your makeup beneath it and ruin your look! After it dries use a clean eyebrow brush (or unused/clean mascara spool) and gently brush it off! This is one time you will be thankful that mascara flakes! It will flake right off and your makeup underneath will still be intact!
I bumped my finger nail while it was still wet!
Ok, so this trick may not work for those HUGE smudges, like when you swipe off half of your polish. But for those smaller smudges and marks this will do the trick…spit on one of your fingers (Um why are you grossed out? It’s your OWN saliva for crying out loud!)…so like I was saying, spit on a free finger (be generous!) and gently rub over the nail with the smudge, repeat as needed, all the while moving the polish back to it’s original place. It’s very important that you do not press too hard or you’ll only make a bigger smudge! Finish by either an additional thin swipe of your color and/or a clear topcoat!
Any other Beauty Blunders you need solved? Or do you have a Fast Fix that works great for you? Let me know!
Cheers to imperfections…and being able to improve them,

September 16, 2011

