

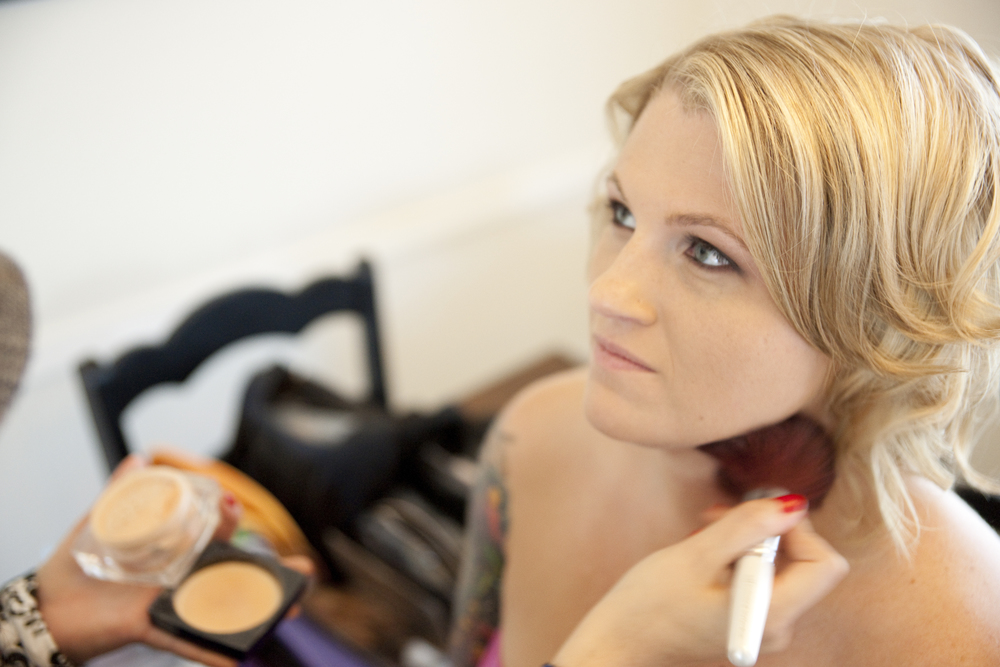
It is something so many are guilty of: Wearing the wrong shade of foundation and/or improper blending. Something I hear all the time is that “it’s not quite right” or “my foundation is OK buuut…” or “my face looks so white in a photo!” Do yourself a favor and once and for all find a foundation that matches you perfectly in a formula your crazy about!
A great complexion makes everything easier and if you get that right, it will make your overall makeup look great, boost confidence, improve how you look in pics, and can even knock years off of your face!
http://www.grandeurphotography.com/
So get to a makeup counter, get professionally matched, and don’t be afraid to spend a few dollars more than normal…it’ll be SO worth it! If you have to match yourself and cannot go to a department store, then make sure you match the shade to your chest NOT your face or neck (those places are usually much lighter than the rest of you and you the point is for your face to match your body!), and purchase from a store with a good return policy. If they cannot provide you with someone to match you, then it’s only fair that you can swap it for one that works!
http://www.grandeurphotography.com/
Some favs of mine, higher end first, more affordable listed second:
Full coverage matte finish…Dior’s Forever foundation OR Neutrogena’s Skin Clearing Oil-Free Makeup
Moderate to buildable coverage,more natural finish…Makeup Forever’s HD foundation OR TruMatch by L’Oreal
Natural coverage, dewy finish: Skin by Bobbi Brown OR Maybelline’s FitMe foundation
So make it happen this month! Fall in love with your foundation…your face will thank you!
Cheers to skin, to foundation, and to breaking bad habits,

January 3, 2012
Having a longwearing…even waterproof look is often times desirable…sometimes necessary, and always a bonus!
It boils down to two things: the products you use, and the techniques you employ.

As far as products go…this may seem like a no brainer, buuuuut: choose products labeled “long-wearing” or “waterproof” this will give you a leg-up on achieving a long-wearing look and products marked as such REALLY do have ingredients in them that help them wear longer (such as oil absorbing ingredients, etc).
Some fav’s of mine for eyes: use MAC’s paint pot in painterly as a base for your shadow…it REALLY stays put and as you can see from these pics, it REALLY helps your shadow stay put!! Also their Fluidline in Blacktrack really goes the distance for lining your eyes!
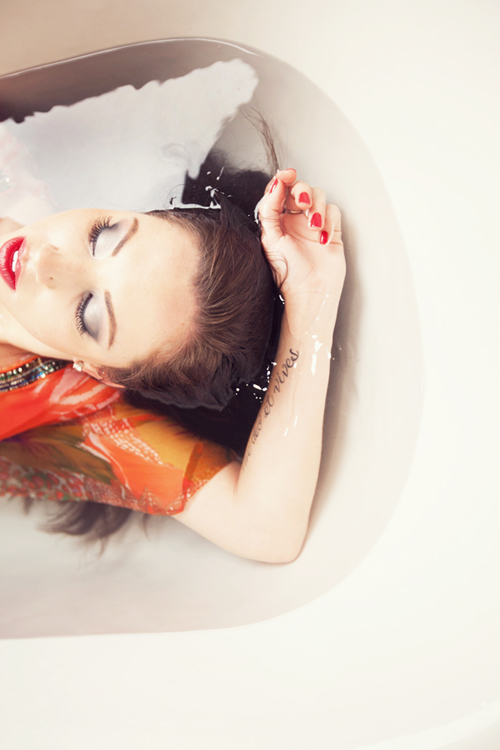
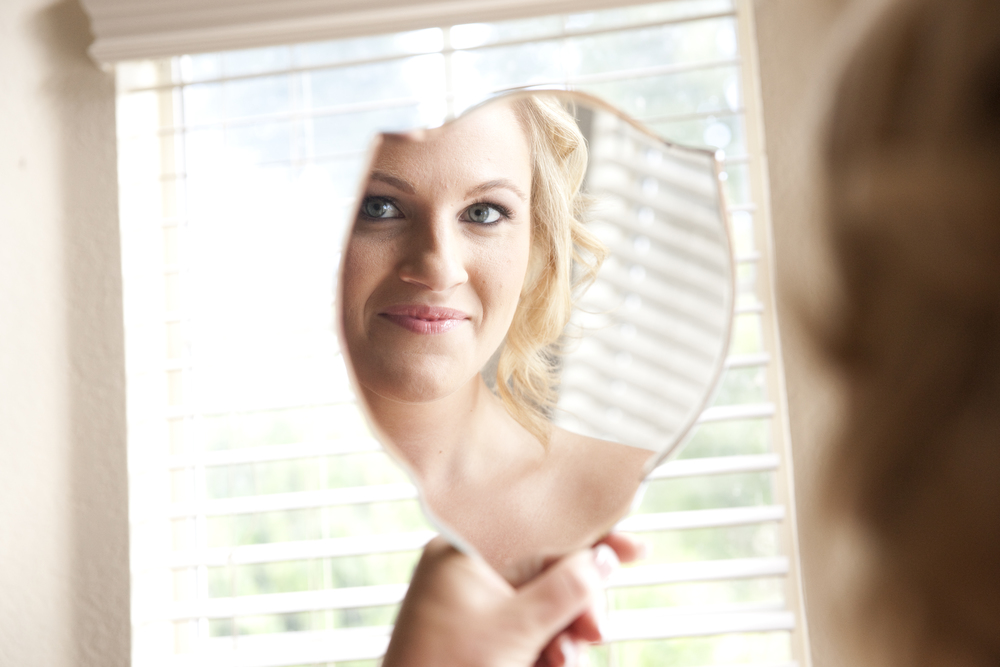
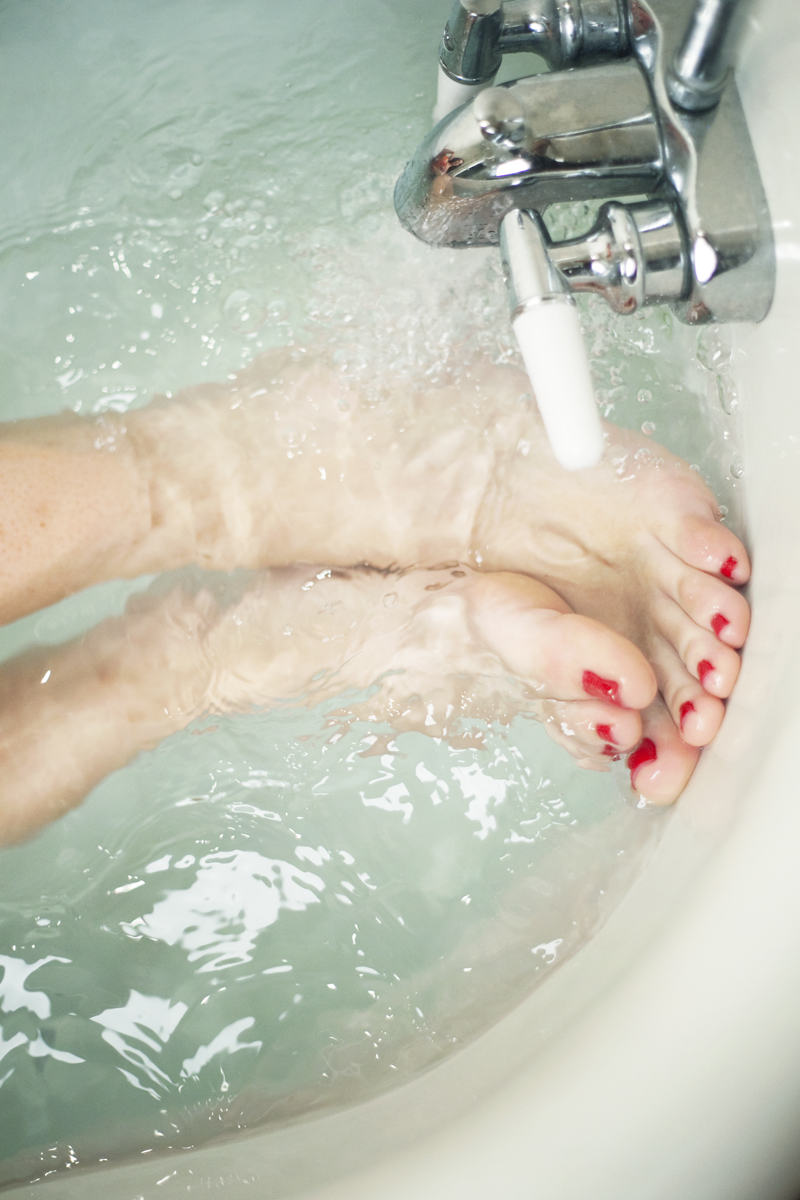
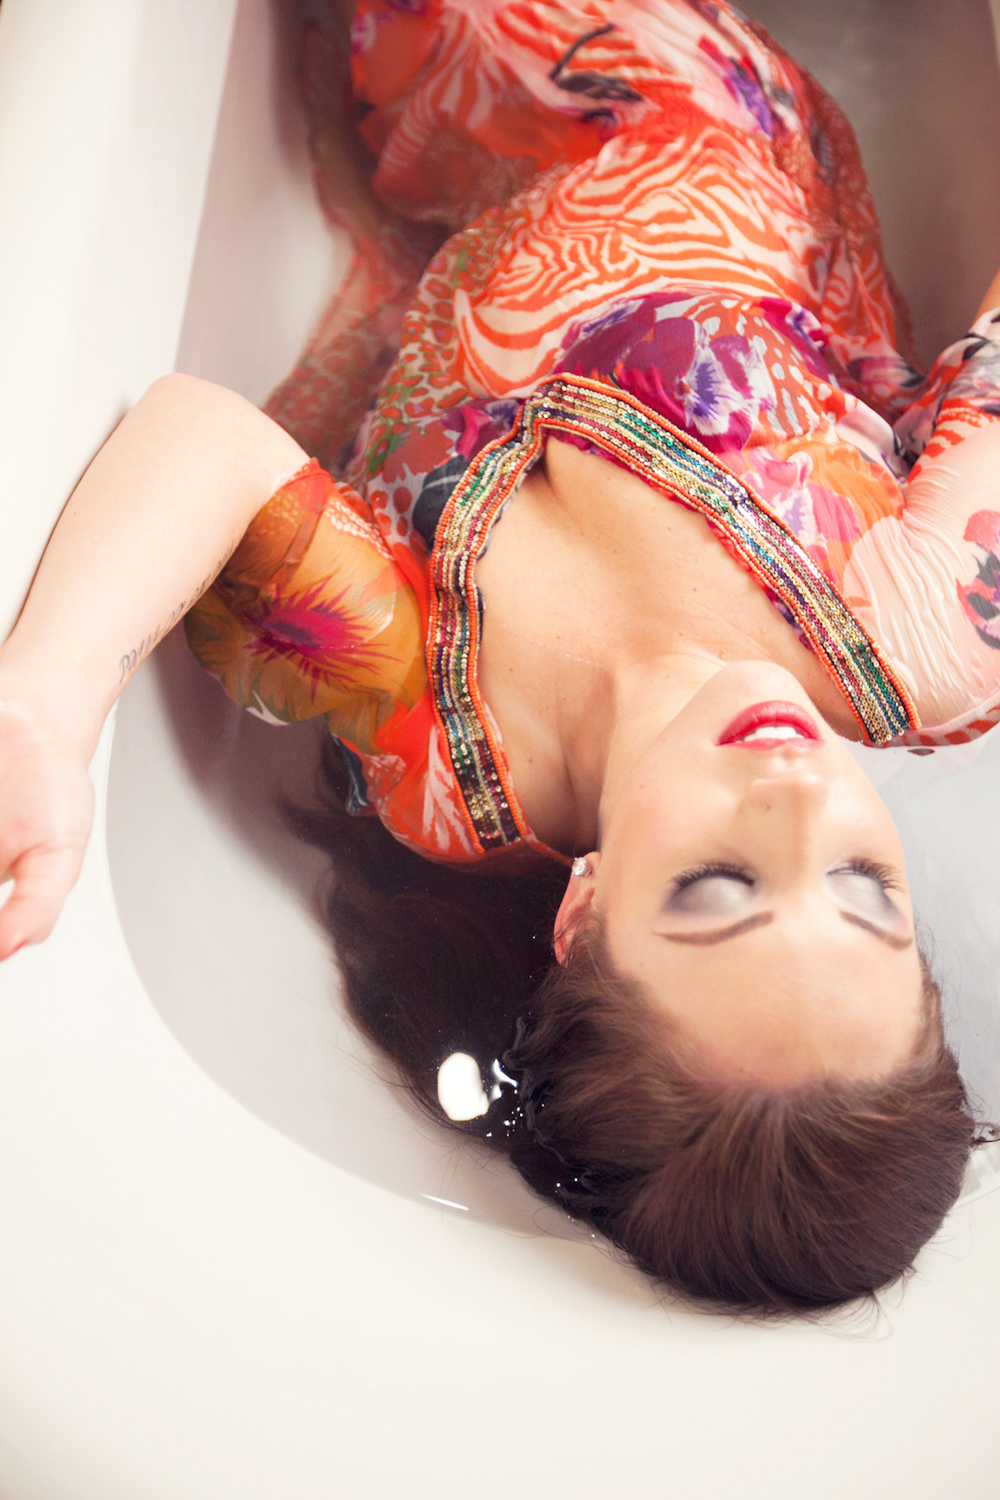
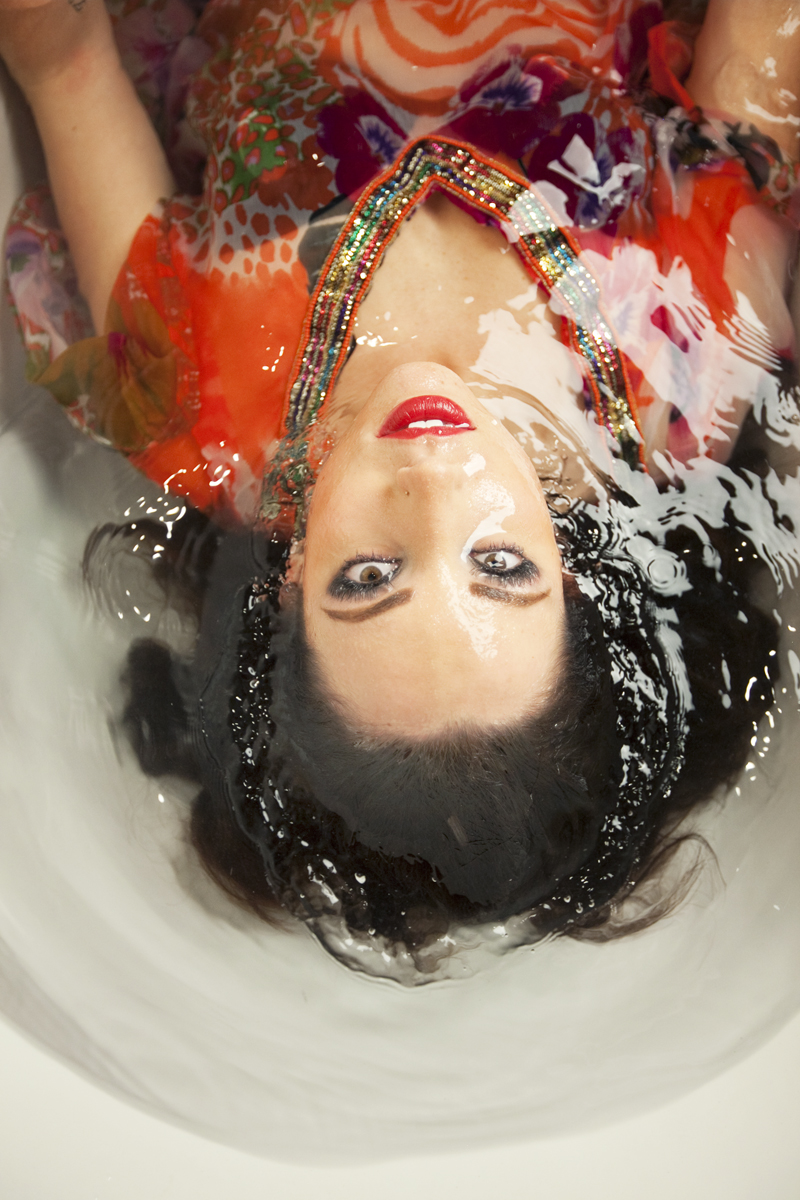
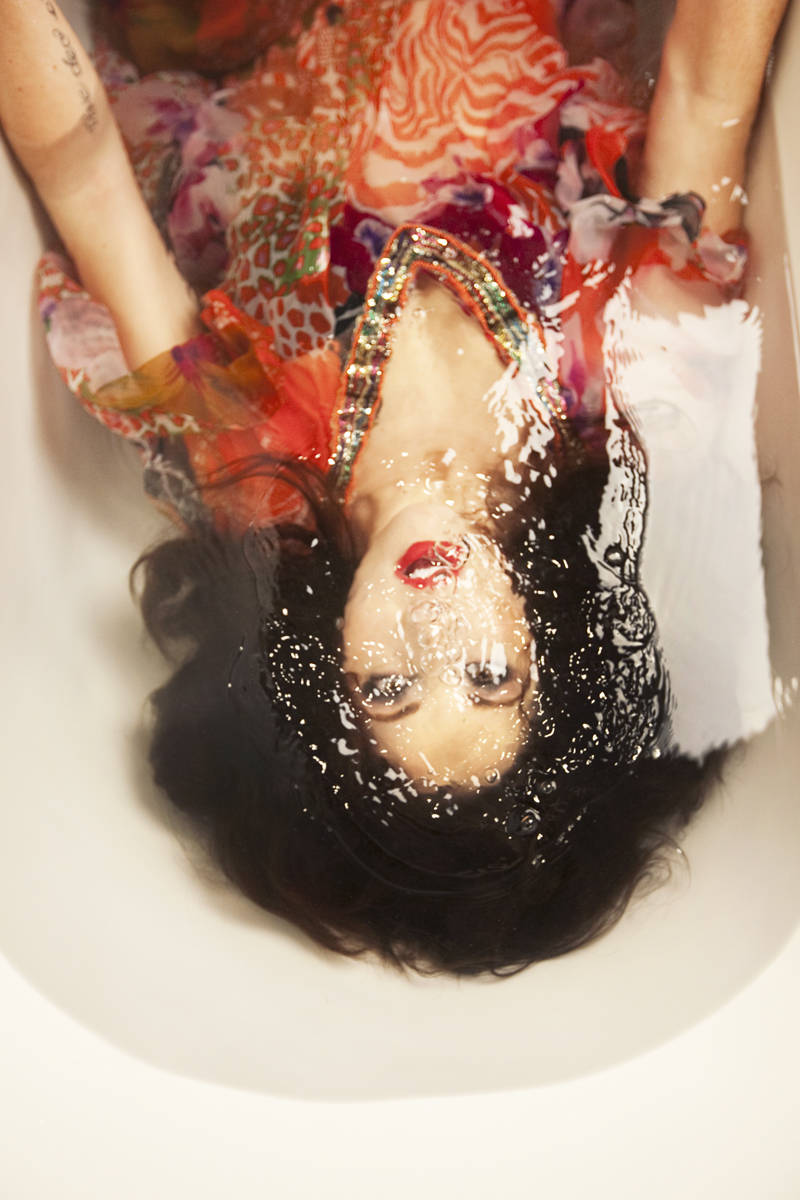
One of my favorite long-wearing foundations (I mention it ALL the time!) is Dior’s Forever foundation…it really will last through a long day…dancing, moving, hugging, and (as demonstrated by our model) even a dunk in some water won’t make it run down your face! As far as lips go, the trick is to opt for more matte formulas, they tend to be drier but longer wearing. Also, completely color in your whole lip with a corresponding shade of liner to act as a base for the lipstick! Apply your matte shade on top, blot, then repeat!
When it comes to technique, layering is key. Layer upon layer of perfectly blended makeup, that is what is going to give you a flawless long-wearing look. It is important to layer translucent powder on top of foundation, to layer cream blush underneath powdered blush, and to layer liner underneath lipstick. Every layer adheres to the one under it, creating a long-lasting color-packed punch! One thing I really love doing is even layering a cream blush, then a powdered blush, THEN even a bright pop of a different blush right on the apples of your cheeks! I know it sounds like a lot, but remember we are talking about multiple LAYERS, not necessarily a ton of thick makeup! Blending is key!
Use fingers to warm up concealer and foundation, use fluffy brushes to blend away seams and set with powder, and of course use waterproof mascara! I love L’Oreal’s Voluminous mascara in black!
Watch below to see the specific techniques I employ for a long-wearing picture-perfect complexion!
So Cheers to Picture Perfect Faces, to Long-Wearing Lipsticks, and to Not Being Afraid to jump in the pool (or hot-tub!) every once in a while!…

December 17, 2011
Nothing says drama like a smokey eye!
A while back I had the pleasure of doing a shoot with the talented photog JennaRae…for these shots we wanted a very dramatic smokey eye…to help emphasize the dark socket I intentionally muted the model’s brows…

Mary (the model) could seriously be wearing dirt on her face and still look gorgeous tho so my job was pretty easy! 😉

For the eyes I started with blue as the base and brown in the crease and then layered matte black on top of it. Try Dior’s 5 pan eyeshadows in Gris Gris and Navy Design. And look at those lush lashes! Fakies of course…love me some Ardells! I used mostly bronzer and a soft sweep of peach on the cheek…that way the eye was the focus. Pale pink lip completed the look.

Ashley styled the hair on this shoot…I LOVE all of the texture in this updo! Don’t you?!

Layers and Layers of black beads…this necklace is all one piece attached in the back by chain. It actually belongs to me and is from H&M. One of my fav accessories!
Here is a tutorial on a very similar look…simply substitute in more black if you want the level of drama that Mary has in these pics!
There was a time when I would wear dramatic makeup a la Kardashian almost everyday! I had it down to a science and could whip out a uber-dramatic smokey eye in minutes! Nowadays…smokey eye is reserved for special occasions! So what about you…is a smokey eye a regular look for you? Only on the weekends? Never?
Cheers to layers of beads, and to Drama in your makeup but NOT in your life!

Acessories, Beauty, Fashion, Hair, Makeup, Photoshoot, Trend, Tutorial
November 3, 2011
Saturday I had the pleasure of working at the MAC counter…that day was so busy and full of Halloween makeovers! So much fun! The theme for the day was Dia De Los Muertos (Day of the dead) so we all wore sugar skull masks (and by wore, I mean our faces were painted that way!)…
So today in honor of Halloween I thought I’d show you pics of what I looked like that day!
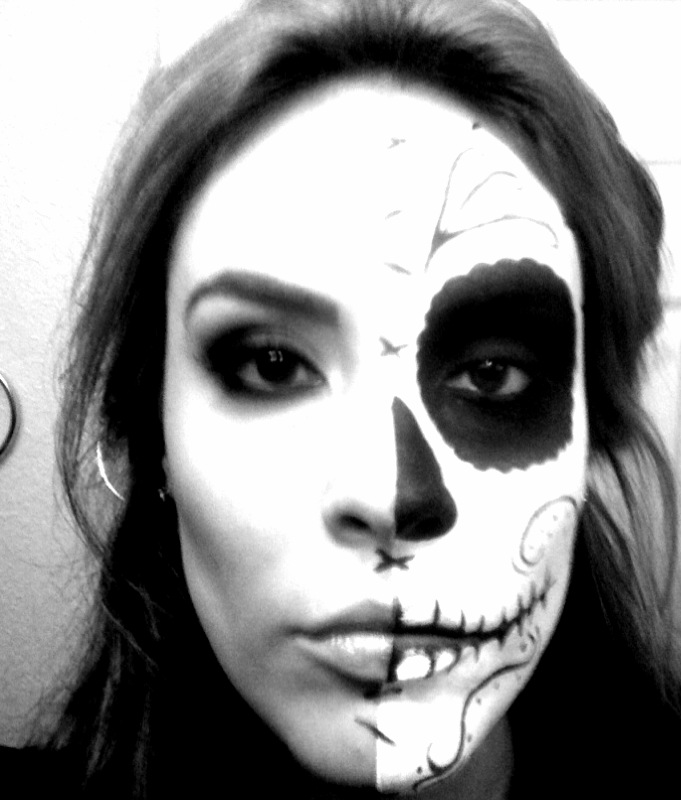
One half dramatic smokey eye and contouring and the other half the mask…

For the mask side I used my MUFE flash pallette and fluidline in blacktrack from MAC…the shapes are super straitforward so give it a try its a cinch! Make sure you black out the eyesocket and the nose…then fill in with as much or as little design and color…lots of flourishes and dots!
Trick: I used individual lashes on my “beauty” side, a double layer! This gave me an extra plush lashlline while still looking believable…sometimes lash strips can look very vegas-costumey (which is what you want sometimes so thats ok too!)…a double layer of individuals is more red-carpet!
Treat: The gloss I used on my beauty side is from ELF…its their hypershine gloss in Flirt. At only $1 I’d say thats a huge treat! Love that stuff!
Tonight, alas I am sick so I will be home curled up with a blanket and some soup…no dressing up or fun for me. So I am glad that I had the chance to do some crazy makeup on Saturday! What are you doing/dressing up as for Halloween?
Cheers to Tricks, Treats, and halloween,

October 31, 2011
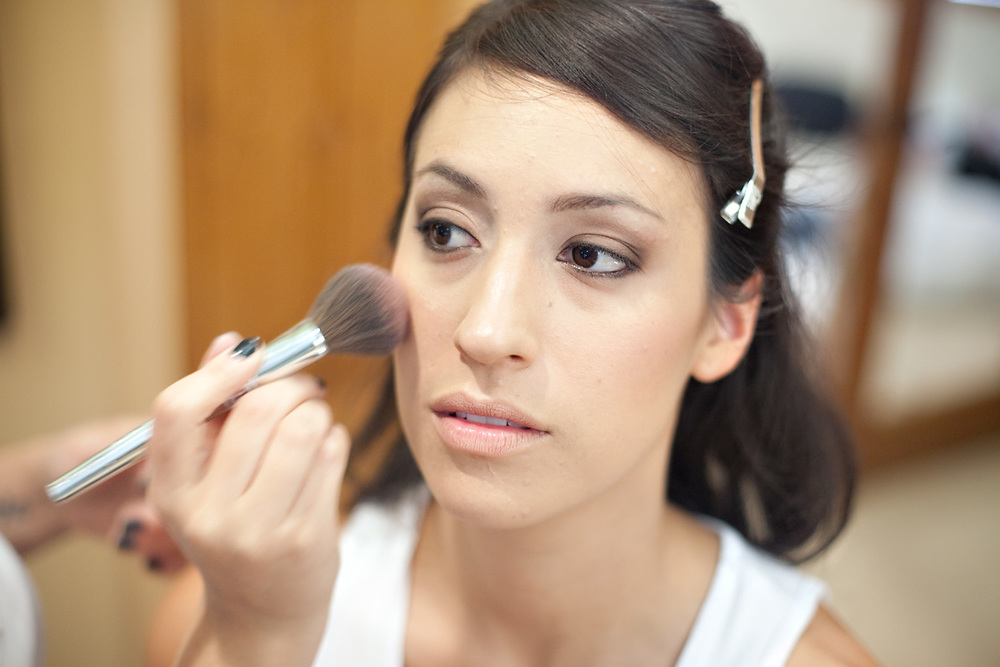
Ahhhh blush…I love blush…in fact I think its my favorite makeup items in general! I mean, if you’re looking for one quick thing you can do to kick up your look, refresh your complexion, add life to your face, or just look pretty in general, blush is your answer!!!
I love blush so much that I am totally guilty of over-using it on myself. Most days I’m like “I need MORE blush!” and I have to tell myself to calm-the-heck-down so I don’t look like I joined the circus! Just kidding…but for reals!
Blush can be intimidating though…I feel like many people seem confused over what shade is best or where exactly to place it . Then there are always questions like how do I make it last? What formulas are the best? Well, fear not and listen up…here is the skinny on blush!
Okay so first, a disclaimer: I hate “rules” when it comes to makeup. They are just counterintuitive for me…and anytime someone starts a piece of beauty advice with “Always…” or “Never…” just plug your ears and run for the hills! That being said, here are a few things about blush that I have learned along the way…
1. Pick a shade that compliments your skin tone: This point could get complicated so let’s boil it down to the age-old saying that opposites attract! I love how a blue (or cool as some people call it) undertoned blush pops on skin with yellow undertones (think pinks, roses etc)…and I think that if you have pinky-cool undertoned skin that you are best off using a yellow undertoned blush. Rosy complexions look best with peachy, golden or brown bronzey based blushes…a true pink just tends to make you look pink all over. Lobster much? Not sure what your undertone is? Ask a local makeup counter (or me if we run into each other!). So FYI, I have more of an “olive” tone, and I get pretty yellow when I pale-out in the winter…and I love all blushes…peaches? Yes! Hot pink? Double yes! I think olive skin can get away with most any shade…So ultimately, pick a shade that YOU love!
2. Placement…Ugh I almost don’t want to include this because there are SO many opinion on this…for the most part though, start at the high point of your cheek bone or the “apple” of your cheek and sweep back. Try to avoid getting too close the nose so you don’t look like Raggedy Ann (anyone remember who that is??) On a rounder face I like to start a smidge further back than normal since the closer the nose, the rounder I think it can make a face look.
3. Formula? Ah that my dear is a matter of opinion! Oh you want mine, you say? Well if you insist…Since I am a blush lover to the core I prefer anything that is super pigmented. NARS is one of my favorite brands, one light swipe and I am good to go! But for others, a more user friendly formula is the way to go…try Dior or Laura Mercier. If you’re on a budget try the ones from ELF they are great too!

4. How to get it to last: In makeup, longevity is partially based on formula, but also on technique and layering! Try layering a liquid or cream blush underneath and setting it with a powder blush for ultimate wear! I love the tints from Benefit and I even use my MUFE flash palette for that as well!

A little less confused? I hope so! Now go perk up your day and throw on some blush! You won’t regret it! 😉
Cheers to Peach, to Pink, and to things that make us blush,

October 5, 2011
We’ve all been there…one more swipe of mascara, or a quick dab of blush, and you would be out the door but then the unthinkable happens: the uncontrollable urge to sneeze, a slip of the hand…Ugh!! No need to fear, take a deep breath…
lydiaphotography.com
Here are a few fast fixes that have helped me! I hope they help you too!
I got a little excited over my creme (or liquid) blush!
If it is still wet and has not set, then use a cotton ball to wipe off any excess. Next grab your foundation brush and blend another layer of foundation on top. Then set with translucent powder. This will not only tone down your blush but create the illusion of that “lit from within” natural flush that we all want!
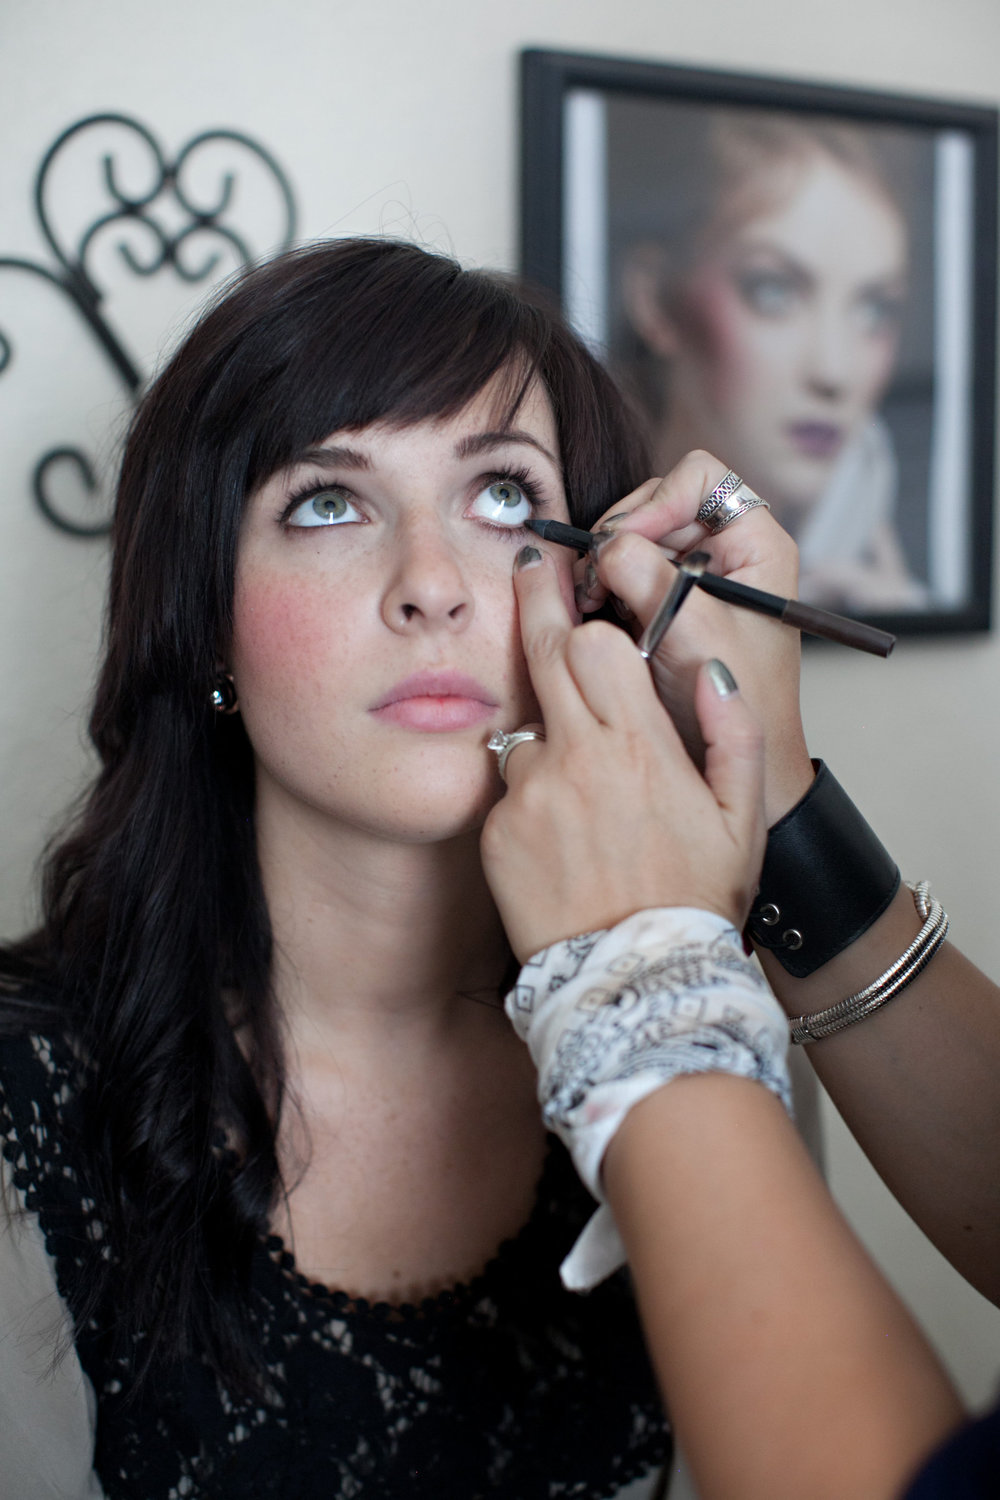
My lashes touched my eyes/face while my mascara was still wet!
This blunder is SO common! Trying to clean it up can potentially ruin your look but it has a VERY simple solution…seriously folks, this changed my life…Wait and let it dry…Yup you heard me right. It’s instinctual to wipe it off but that will onyl smudge and rub it in more, and using removers will break down your makeup beneath it and ruin your look! After it dries use a clean eyebrow brush (or unused/clean mascara spool) and gently brush it off! This is one time you will be thankful that mascara flakes! It will flake right off and your makeup underneath will still be intact!
I bumped my finger nail while it was still wet!
Ok, so this trick may not work for those HUGE smudges, like when you swipe off half of your polish. But for those smaller smudges and marks this will do the trick…spit on one of your fingers (Um why are you grossed out? It’s your OWN saliva for crying out loud!)…so like I was saying, spit on a free finger (be generous!) and gently rub over the nail with the smudge, repeat as needed, all the while moving the polish back to it’s original place. It’s very important that you do not press too hard or you’ll only make a bigger smudge! Finish by either an additional thin swipe of your color and/or a clear topcoat!
Any other Beauty Blunders you need solved? Or do you have a Fast Fix that works great for you? Let me know!
Cheers to imperfections…and being able to improve them,

September 16, 2011

