

I am so smitten with the look I did for a photoshoot this week with Nicole Cook (umm, by the way she is an AMAZING highschool senior –fashion– photographer in NorCal). Luckily I had the sense to take pics of the look as it developed so I could make this tutorial for you! The funny thing is that it doesn’t actually use any silver shadows in it…the hue is a result of the blending of the liner and shadows. Which I actually prefer because silvers often translate very blue on camera. This way you get the effect in a truer way. If you’re not a fan of silvery shadow, then sub the black pencil for an espresso one and blend out with dark brown shadow instead of black for a more chocolatey neutral look. I worked from my Naked Basics palette and also a few shades from Makeup Geek (creme brulee, shimma shimma, and homecoming).
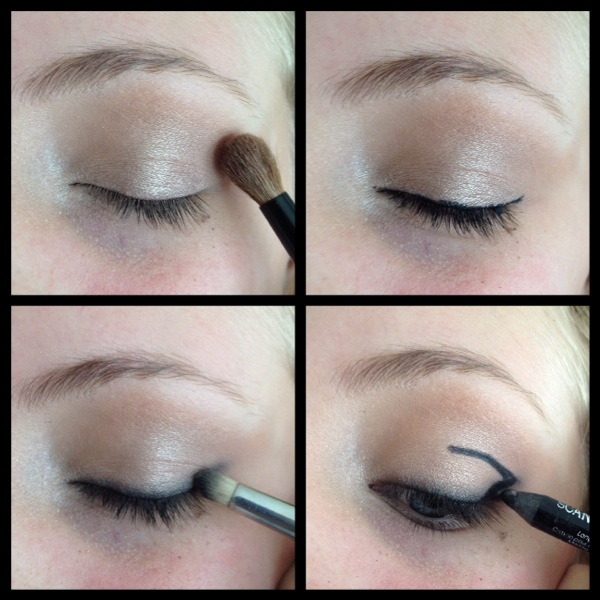
1. Prime your lids and dust on a neutral champagne or vanilla shadow all over your lid, the shimmery base will help when it comes time to blend.
2. Line your eyes, doesnt need to be precise.
3. Use a pencil brush (or your finger even) to blend and soften the liner.
4. Draw a V with your pencil to outline where your smokey cat eye will go. Make sure you open your eye first to determine how high up you want the line in your crease.

5. Use your pencil brush to blend and smudge the V more into the center of your eye, you essentially are focusing on the outer third portion of your eye. Dip your brush into black shadow as necessary to build the depth you are comfortable with. See how messy its getting? Trust the process and don’t get scared! I like to do eyes first and skin second when doing looks like this.
6. Pat a shimmery taupe shadow all over your lid, smoothing out the seams of where the black shadow stops.
7. Dust a soft brown in your crease, bronzer works fab!
8. Highlight under your brow and in your inner socket.
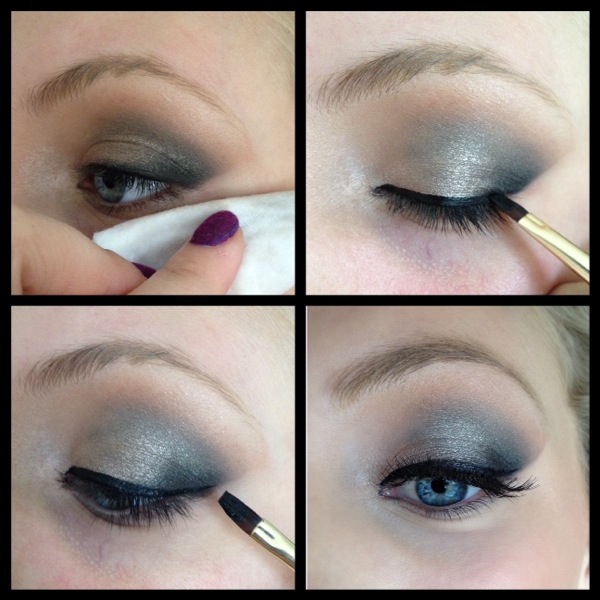
9. Now for the clean up! This step is what adds the sharp angled edge to the look. Take a cotton pad with remover or makeup wipe and fold it so you have a straight edge. Swipe the edge in an upward angled motion.
10. Line your eyes. I love the sharpness of a gel or liquid for this look.
11. Add the flick of liner at the end for your cat eye. The awesome part about this look is that the sharp edge we created is your guideline, so its goof-proof!
12. Load up with mascara…bonus points and more drama if you toss in some lashes too! I used medium length individuals.

And there you have it! Isn’t our model Lexy so lovely?!
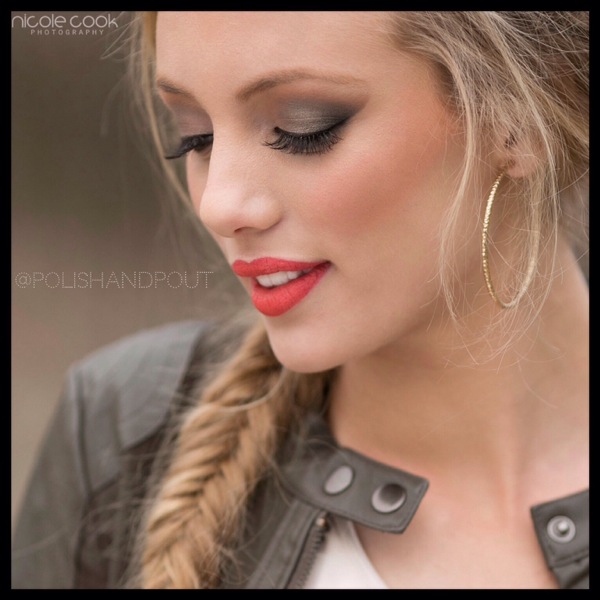
We were going for drama so we paired her look with a bold punchy lip (Rimmel Kate Moss #12)…but a nude lip is a great option for this look!
Cheers to Seniors, Silver, and Smokey Eyes,

January 29, 2014
Do you ever smell something and immediately you’re thinking of a certain person, or time in your life? Sometimes the memory even surfaces before you realize what you’re smelling, “What is that, smells like Christmas!” A diesel truck goes by and I’m mentally transported to Santiago, Chile. Coconut Lime Verbena body spray…I think of my sister. Chanel Chance Eua Fraiche and it’s a hot summer night downtown with Andy.
If we naturally link scents with people or events, then why not use that to your advantage and be purposeful about your scent during important times?! Since scent is so closely tied to memory, I encourage my brides to pick a new unique scent for their wedding day (bonus points if you wear it on your honeymoon too!). All of the amazing emotions of the day get intertwined with that scent. And every time you bring it out (on a special event or anniversary) you’ll be reminded of all those feelings of love, friendship, and celebration!
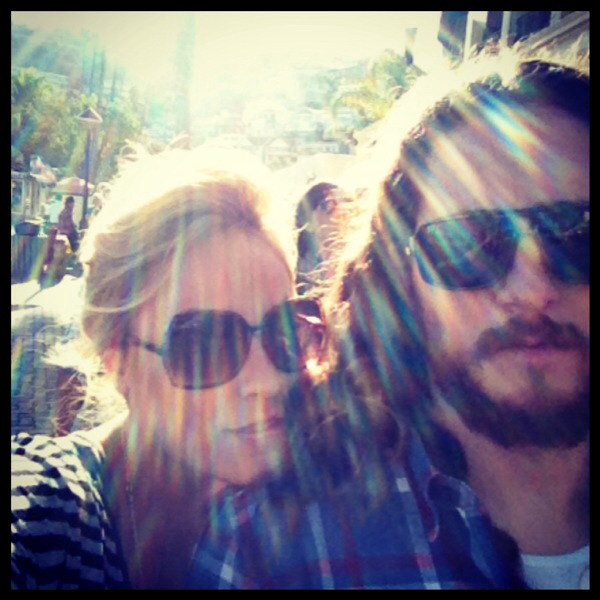
I do this in my own life, not just one my wedding day, but whenever there is something significant I want to remember. I recently had a birthday and we decided to celebrate by going on a cruise to Mexico! The perfect opportunity to make a scent-memory connection!
Jenn from Garden Apothecary was sweet enough to send me some birthday treats from her amazing product line. When I saw the Cacao + Cardamom Flower Essence perfume oil I just knew that would be the perfect scent for my Latina Holiday! Its like sugar and spice with a warmth. I made sure to apply it morning and night…Here is a peek into the memories my scent and I made on vacation:

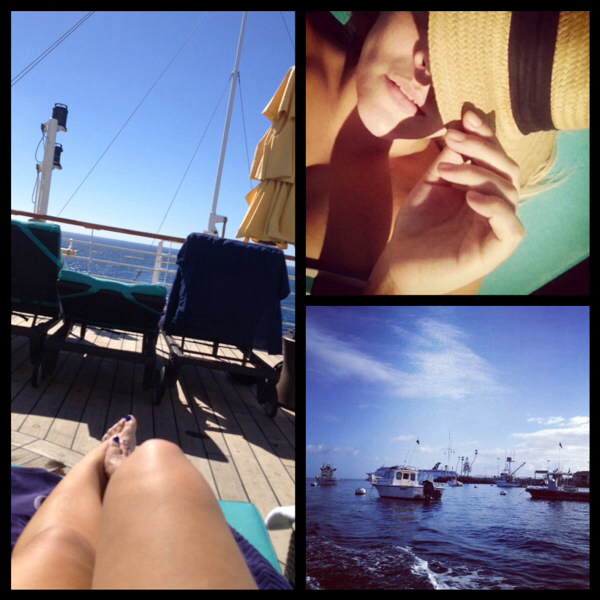
I had never been to Catalina Island before so it was so great to visit a new place. We drove around in golf carts, visited the little shops, and ate ice cream. It reminded me of Sauselito a little!
Mexico was of course great! Full of shopping and delish local food! I even was surprised with a mariachi serenade for my birthday…wow! I felt so spoiled.

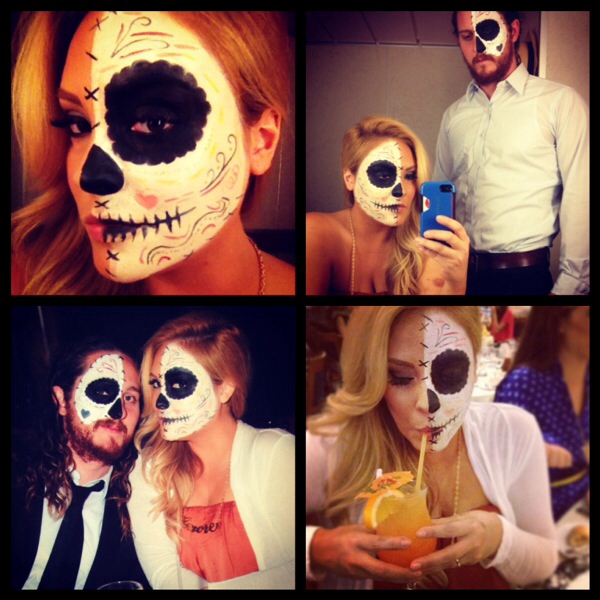
Halloween happened while at sea…and it was so thrilled that Andy let me paint his face! So much fun!
It’s not a vacation in my opinion without some poolside sunshine.
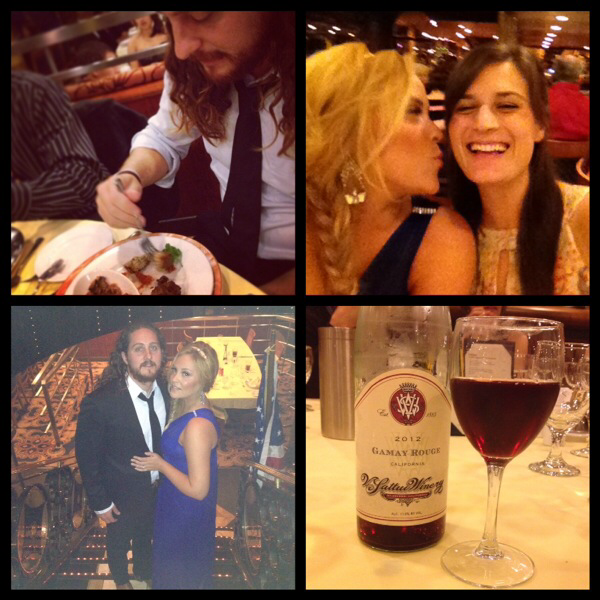
I love getting dolled up and going out with my husband. More formal sit-down dining happens every night on the ship, so every night felt like date night! There was a vanity desk in our cabin, so doing my makeup and hair seemed extra fun and my Cacao roller ball fragrance made me feel vintage and swanky!
Of course, vacation always ends too soon…but I returned to amazing friends and family that wanted to continue celebrating, so I really cannot complain!
I think I’m going to bust out the cacao fragrance again at Christmas and add some more memories to that scent! What about you? What scents remind you of good times?
What if you wore the same scent on every date night…or found the perfect fragrance for your wedding…or graduation…or promotion…and the list goes on and on! You’d literally be able to bottle those memories. So stay tuned next week for my fragrance hall of fame top picks so you can find the perfect one!
And special thanks to Garden Apothecary! Jenn, your special scent helped make my birthday perfect!
Cheers to Memories, Mexico, and Scent,

November 14, 2013
Life can be tough. Circumstances can be shaky. Here is what we are certain of though…
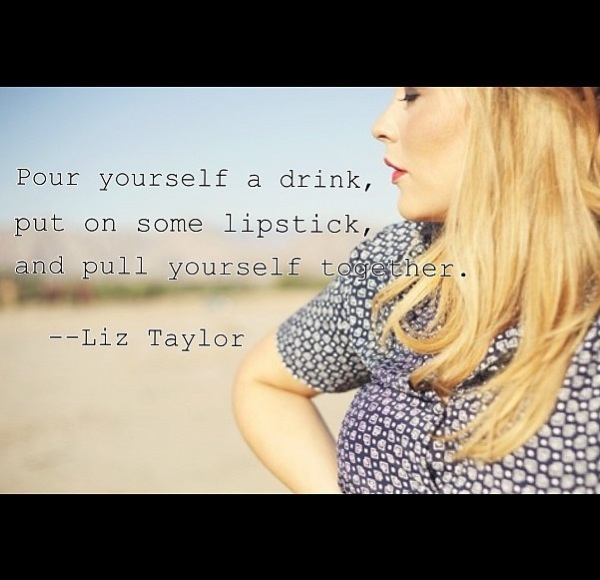
1. Lipstick can cure just about anything.
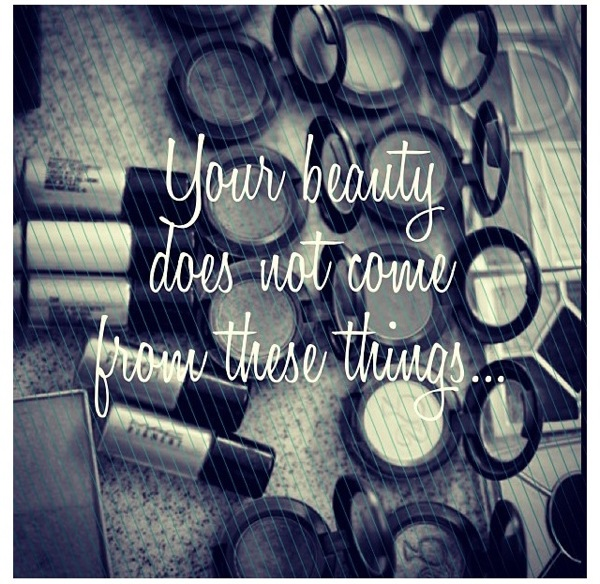
2. But how we look on the outside does not define us.
3. Everyday is a fresh chance to be a new you. Is the day half gone and its been terrible so far? You can start your day over anytime you choose! I had a teacher in junior high say that all the time and it stuck with me…I use this pearl of wisdom regularly!
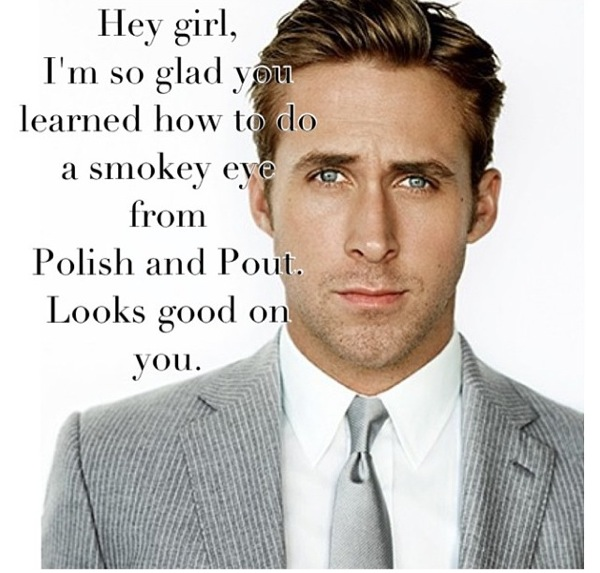
4. Knowing how to do something properly is very powerful! And while an expertly executed smoky eye may or may not land you Ryan Gosling, it will boost your confidence and make the day seem brighter!
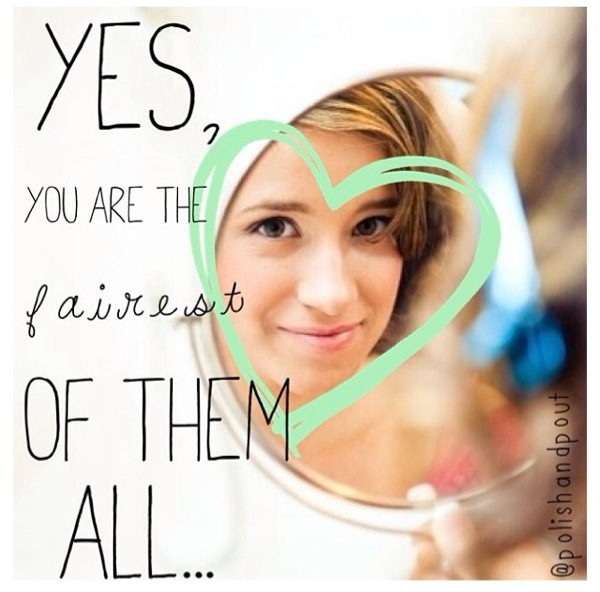
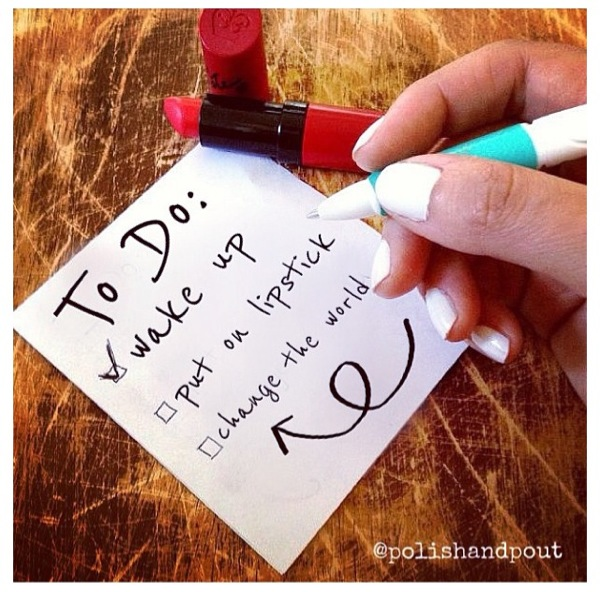
5. Everyone deserves to have their moment to shine. You may not be a celebrity, but you can feel like one once in a while! (That’s where we step in!)
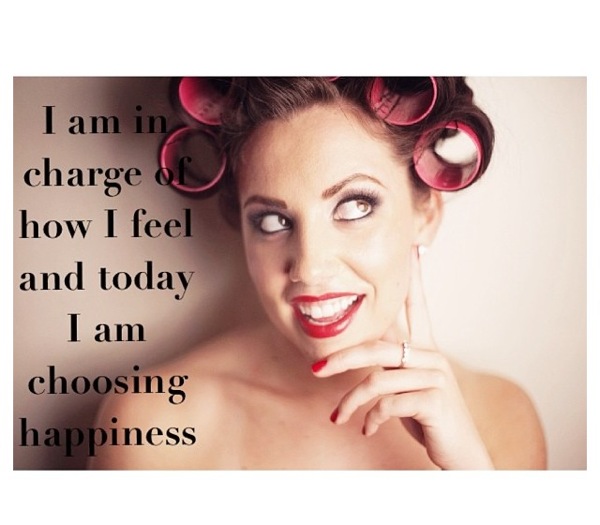
6. Others actions can affect us, but ultimately your personal choices will be the rudder that steers the ship of your life!

7. You can always count on being able to tag along with us! Beauty Adventures are best shared with a friend…and sometimes a little pretty is the perfect escape!
Cheers to Circumstance, Certainty, and New Chances,

Beauty, Bridal, Celebrity, DIY, Fashion, Health, industry professional, Makeup, Musings, Personal, Photoshoot, Product review, Shopping, Trend, Tutorial
September 9, 2013
It’s fun to get dolled up, but let’s be honest: thats tiring and unrealistic on a daily basis! My reality is that I love to sleep, and often (always) chooze the snooze button and rarely have more than 30 minutes in the morning. And truthfully, even when I have more time, there are other things I’d rather do. Spending lots of time getting ready is so fun once in a while, but not everyday. Maybe that’s just me though? What about you?
Well, either way…here is my typical morning routine! None of the pics are filtered…this is painful reality blogging here folks! Haha…enjoy!

Wow! Yikes, here I am in my jammies…I’m in LA right now for work and crashed at a friend’s house. First thing I do is put on my Clinique All About Eyes serum because I almost always am SUPER puffy! I brush my teeth while I wait for it to absorb. I hate artificial sweetener, in fact it’s even hard for me to chew gum (so I rarely do!) because I can taste it in everything…I can’t even use normal toothpaste anymore because of the aversion. Weird.

I comb my hair, add dry shampoo if needed. I just washed it last night so this is fresh hair. Part as desired, spray 12 Benefits on it…which I am obsessed with now (thanks Ash!)…makes my poor damaged hair look decent and smells amazing. Today I curled just the ends quickly and dragged my fingers through it for a soft subtle wave.

Today, I’m taking it easy and catching up on blogging and emails…so I am keeping my face super simple. On any other day I’d probably add a layer of foundation on top of the BB Cream and opt for a bright lipstick…I am obsessed with this concealer in the bottom left pic…it’s the Maybelline FitMe! So affordable and covers so well! I rarely put anything on my eyes…lashes yes, and I currently have lash extensions with a few individuals on top…I’ve found that when I focus on complexion, I can do far less on my eyes…when pressed for time, it’s always better to spend the time you do have on your complexion…

My new favorite bronzer: NYC SmoothSkin in Sunny…under the cheeks, jawline, neck, and forehead.

Blusher (I used a WetnWild one today and LOVE it)…but I did use Dior’s brush to apply it, they still make my favorite shape of cheek brush out there! Filled my brows. Quick tip for a natural brow: I sometimes use a fluffy angles shadow brush. The fluffier the brush, the less amount of product it picks up, so you get a lighter effect! One quick swipe and my brows are very lightly filled without looking sharp! Tinted lipbalm from Flower Cosmetics (Drew barrymore’s new line!), skipping the bold lipstick today since I’m not really headed out.
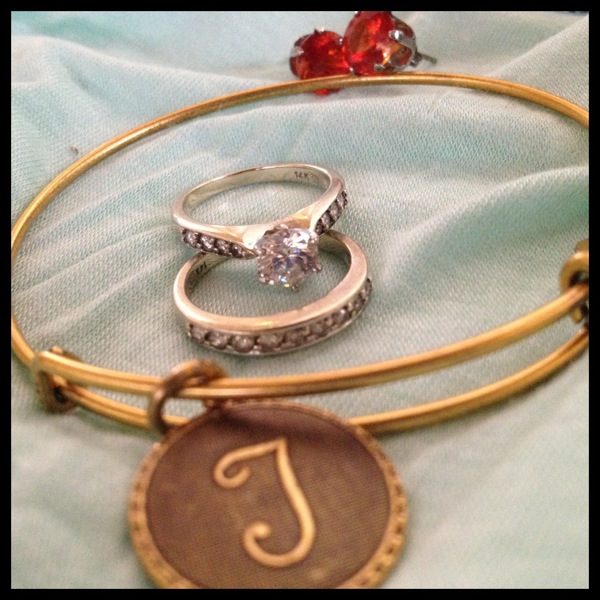
I absolutely adore this initial charm bracelet from Ashleigh! Wedding rings of course and orange studs! I have to have a couple of accessories even though I’m staying in!
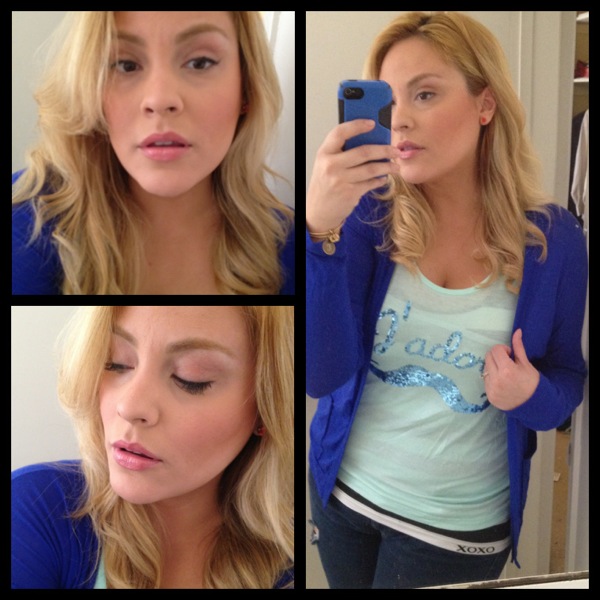
Voila! Simple, fast, and easy! I snagged this sweater and top at the PacSun outlet in Pismo on the way down here! They were $6 each! I love the sequined mustache and it says J’adore on it too…how cute!
Ok, so I know I’m not reinventing the wheel here…but I hope this shows you that with a little time, focusing on a few key things can have a big payoff! What’s your everyday routine? how long does it take you? Making time for beauty is important, but there’s no need for us to pressure ourselves and schedules into thinking we need hours to look good.
Cheers to Makeup, Mustaches, and Making Time For Beauty,

February 1, 2013
So between my frequent thrifting and the fact that I have a hard time getting rid of anything…my pile of makeup bags, clutches (or anything for that matter!) that need a little face lift are in abundance! If you have an old clutch or makeup bag that needs an update, a few cheap items…some things you probably already have at home…should do the trick! Here’s how I did it!
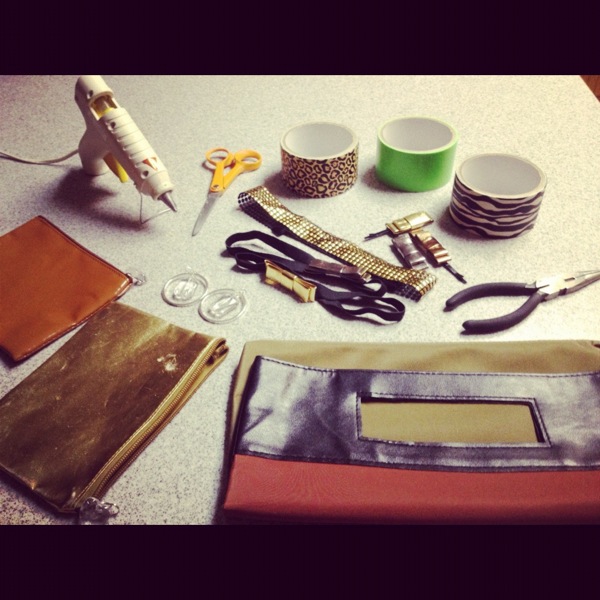
Here’s what you need:
1. Your bag to recover…I find that something with sharp anges (like square or rectangle) work best, anything with a rounded edge will be a bit more difficult
2. Printed duct tape…you can find this at any craft store! Pick a print or colour you like. I snagged mine at the dollar tree!
3. Hot glue gun, needle nose pliers, scissors
4. Any old earrings, brooches, or headbands to add pizazz!

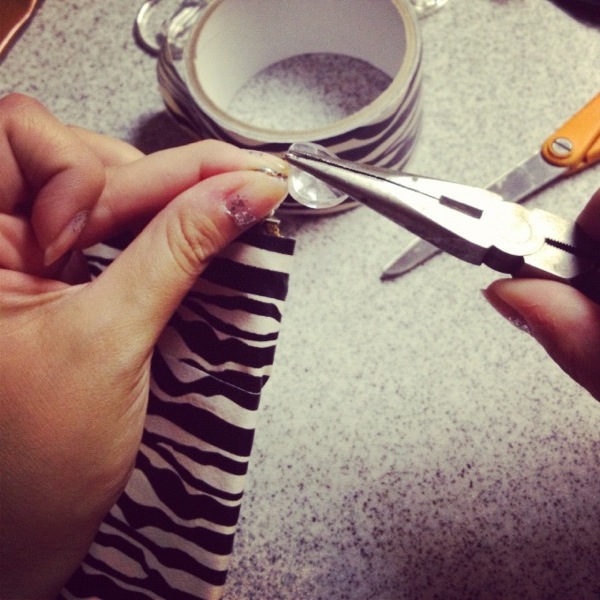
Align the tape on the top outer edge and wrap around the entire bag until you end up back where you started. Then cut with scissors. I like to do the top and bottom first, so I can see how many pieces of tape will be needed for the middle. That way I don’t end up having to trim at the bottom, I just layer them. Start with each new piece of tape on the same side each time so that bag has a seam down only one side.
My makeup bag had an ugly heart shaped plastic thing that I wanted to remove and replace. If yours doesn’t, no big deal…you can also use the pliers to add a charm or ring et cetera.
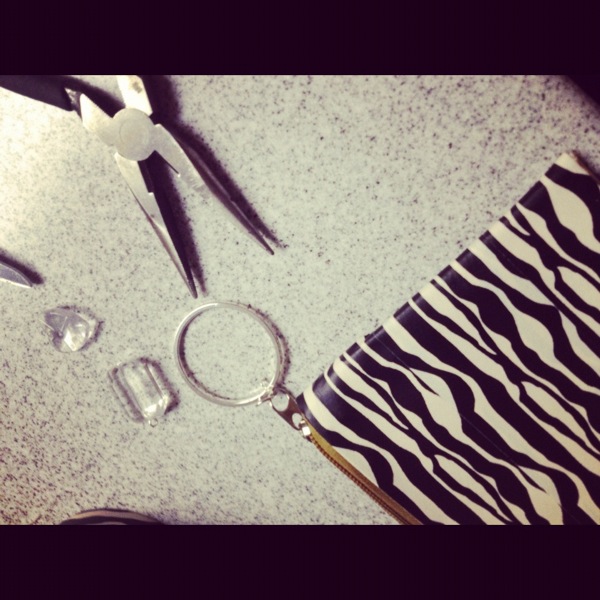
I used an old earring to replace the charm. An old earring or necklace piece would work amazingly!

Glue anything you’d like to your bag! I had a studded headband and some bows that I used. This neon green tape really looks like duct tape…so the clutch has an urban vibe that I loved! I noticed that the other prints had a smoother texture and looked a little more refined. So pay attention to your tapes when you pick one out. I honestly like both textures and finishes!
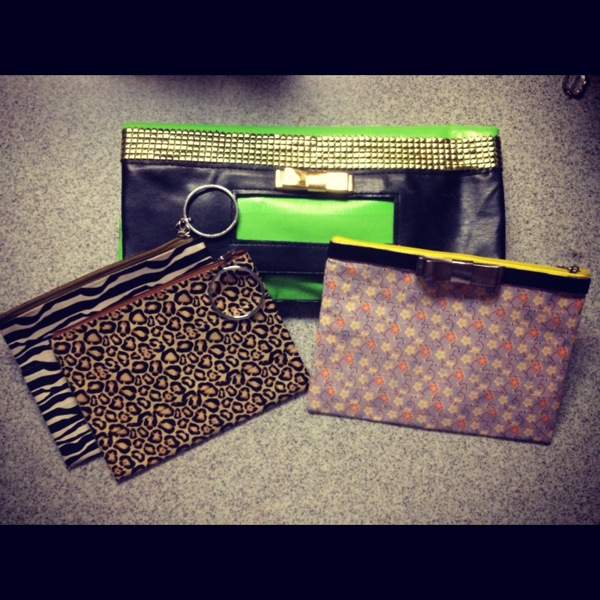
Here’s how mine turned out! I did two small makeup bags and one clutch…I then remembered that my friend Malisa gifted me some super cute craft tape with a floral print so I did another makeup bag and added the bow headband to it! I love how they turned out!
Give this a shot and let me know how it turns out!
Cheers to DIY, the Dollar Tree, and Duct Tape,

August 29, 2012
This week I had the immense pleasure of attending the VIP Adesign Brush Party at The Specialists Salon in San Francisco hosted by Erica Carr! Not only was I there to experience and review the Adesign Brushes as an artist, but I also was invited to cover the event as a blogger…if you follow me on Twitter or Instagram you saw a bit of the play by play of the night (You don’t?! Let’s change that! @polishandpout). Here’s a peek into how this amazing night went…
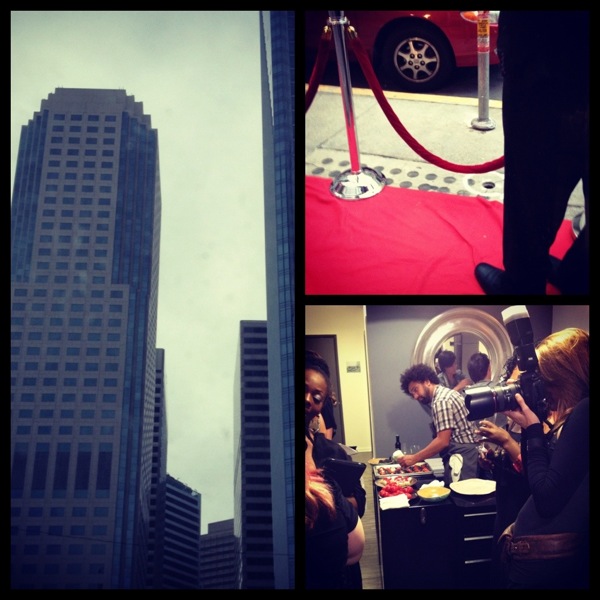
The soiree was in one of my favorite places…San Francisco! Red carpet? Yes please!
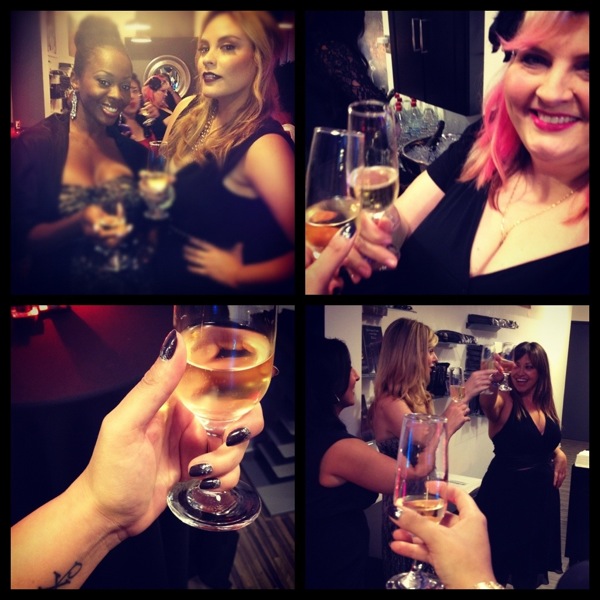
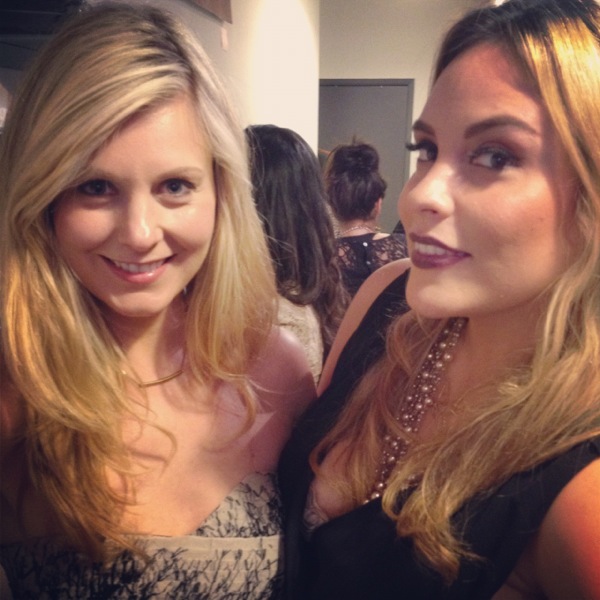
Clockwise from top left: Me and fellow beauty blogger Renee Hamilton, New friend and fellow artist Trisha, Pre-party toast, Cheers!

Bubbly is nice and getting to see other artists is always fun…but the main reason we were there was of course for the brushes! We all had the chance to try the Adesign brushes out first hand on each other.
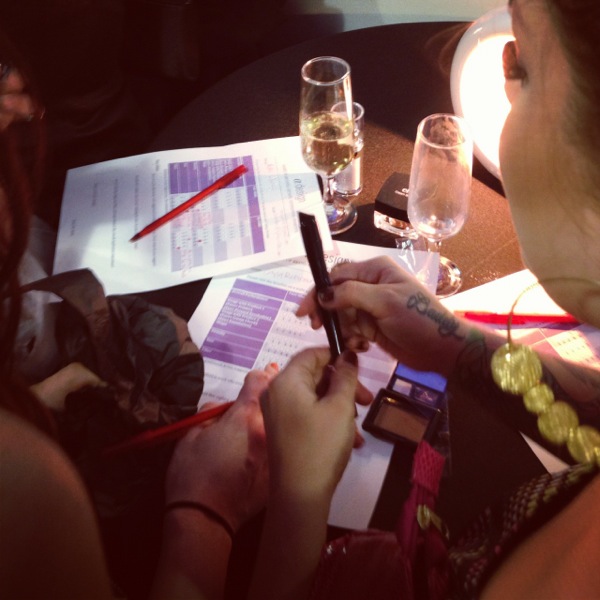
Two of the brushes there for our review have not even hit the market yet! One face and one eye brush…such innovative shapes! How incredible it was that Adesign wanted to include the artistry community in their product development! If the feedback is good…we may see these brush shapes hitting the shelves!

Adesign Brushes is a private label brand. They develop brushes for companies like Smashbox, Sephora, and Laura Mercier. I went home with around 7 brushes and cannot wait to use them extensively this month and give a full in-depth review soon! So stay tuned!

From the left: Beauty Director for Adesign Brushes Shana King, our hosts Erica and Lulu, and Anisa herself (the President of Anisa International, the company who owns Adesign).
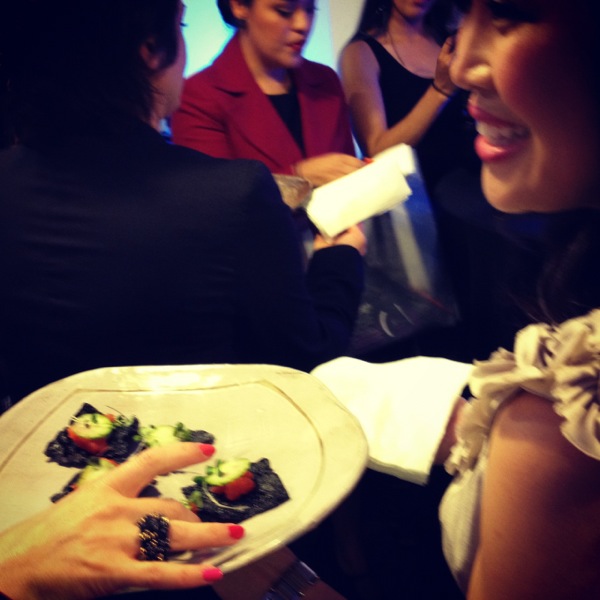
Yum! The appetizers were divine! Such a fun night…having so many amazing artists in one place is a rare treat! I am so thankful for the new friendships and connections that were made last night!
Me and Beauty Expert Shana King…she is lovely yes? I must say, her complexion was immaculate!
Cheers to Bubbly, Beauty, and Brushes,

Beauty, Celebrity, Fashion, Haul, industry professional, Makeup, Musings, Pro event, Product review, Products, Shopping, Trend
August 24, 2012
I absolutely loved this look from our recent photoshoot with Paul Beattie…friend and fellow Glamonomics blogger, Maggie was our lovely model! Want to get the look? Here’s how…

For Maggie’s eyes I did a classic dramatic brown eye…very similar to a classic bridal look! Chocolate on the lid, a clearly defined crease, and champagne in the inner socket. Then I added a cat eye with my favorite ELF cream liner in black!

Big lashes and a custom blend lip color added that 60’s retro vibe we were going for. I can’t get enough of Makeup Forever’s Flash Color Palette! Endless lip possibilities! I utilized the white and pink colors for this blend. NYX matte bronzer in Dark Tan gave her an extreme contour.
For the hair, Ashley curled it, then teased the crown and pulled it into some up and some down. When she pinned the hair back she pushed the hair up even more to get that ultra volume…lots of teasing and Bed Head Hard Head hairspray gave Maggie that amazing bouffant!
Check out more pictures from the shoot and a summer clothing favorite of mine on Glamonomics today!
Cheers to Pale Lipstick, Bouffants, and Retro Glam,

May 22, 2012
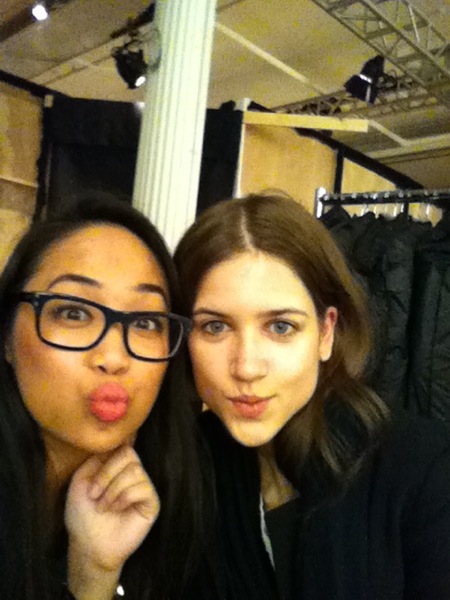
I’d like to introduce you to my dear friend MJ…
MJ is a professional makeup artist living in LA. She’s worked for many amazing makeup lines including Dior, Laura Mercier, and MAC. She has done everything from bridal to red carpet and from runway to film. She even has worked with the D-O-Double G himself!(Umm that’s Snoop I’m referring to haha)
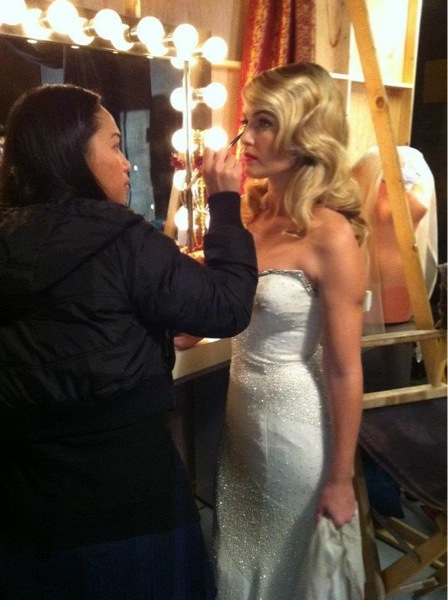
Most recently she worked backstage at NYC fashion week! So she is giving us the scoop today on what it’s like backstage!
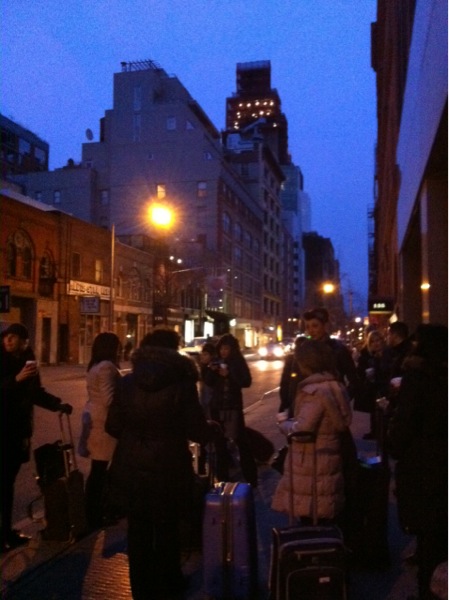
MJ: I was running on not a lot of sleep! It was a very looong day flew in and hit the ground running the morning! Early call times! But then really, who sleeps during fashion week?
I was backstage for 2 days with 3 shows per day so it was a lot of work! The shows I worked on were at the Metropolitan Pavilion in NYC. Bebe, EMU Australia, Theia, and Malan Breton were among the designers I was able to work with.
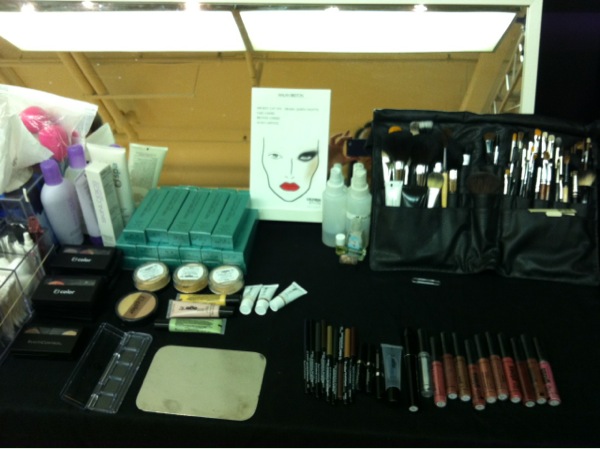
Beauty Control was the beauty sponsor so they provided the makeup, skincare, foundation and all the color to use on the models! (Which she got to keep! Jealous!)
It was very intense…station prep, demo from the Viktorija Bowers (the lead artist) and then everyone just attacks the models…I always had to make sure that I had someone in my chair. Everything gets done at the same time: hair, nails, makeup. So you have to be focused and quick! No time for stargazing. Ahaha.

I was able to actually watch most of the shows!
There was barely any time to sit but you don’t really notice until your done because the energy is so high! Theia was my favorite show…everything was on point and perfect. After that particular show, they received a standing ovation…some people even had tears in their eyes…I thought: this is the reason I do what I do…moments like this…its not always this way but I felt so lucky to experience a moment like that…everything was perfect and I was able to be a part of that!
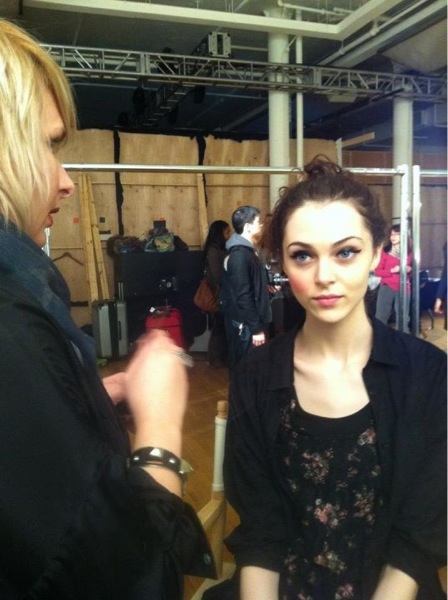
I was fortunate to be partnering with a great team, which really can be attributed to the lead artist… She was so down to earth and encouraged us all to not be afraid or hesitate, that we are good artists, that why we were there so just trust our skills and go for it!
Here’s a video backstage at a show MJ worked at! Can you spot her?
BC NYC Fashion Week 02.12 Recap from Jason Smith on Vimeo.
Did you spot MJ? She was at the :42 mark! Stay tuned for another post from MJ as she gives us the scoop on the beauty trends she saw on the runway!
Cheers to Fashion week, to NYC, and to Perfect Moments,

February 23, 2012
Part of what makes a wedding special is putting in little personal touches or unexpected details…I especially love it when a bride decides to throw in an accessory that’s more on the fun side or even a little trendy!
A few things I see fitting in with bridal trend during the cold seasons…

What better accessory for a chilly weather wedding than a pretty coat?! Definitely a good idea for some cute pics outside before you walk down the aisle! DIY Tip: this coat is from the juniors section in Nordstrom…every year they sell peacoats in all colors for around $50 (sometimes cheaper if on sale!). They come with basic buttons that looked very casual so I went to the craft store and found these gorgeous antique inspired pearl buttons. A quick button swap and voila! A fancy-shmancy coat!
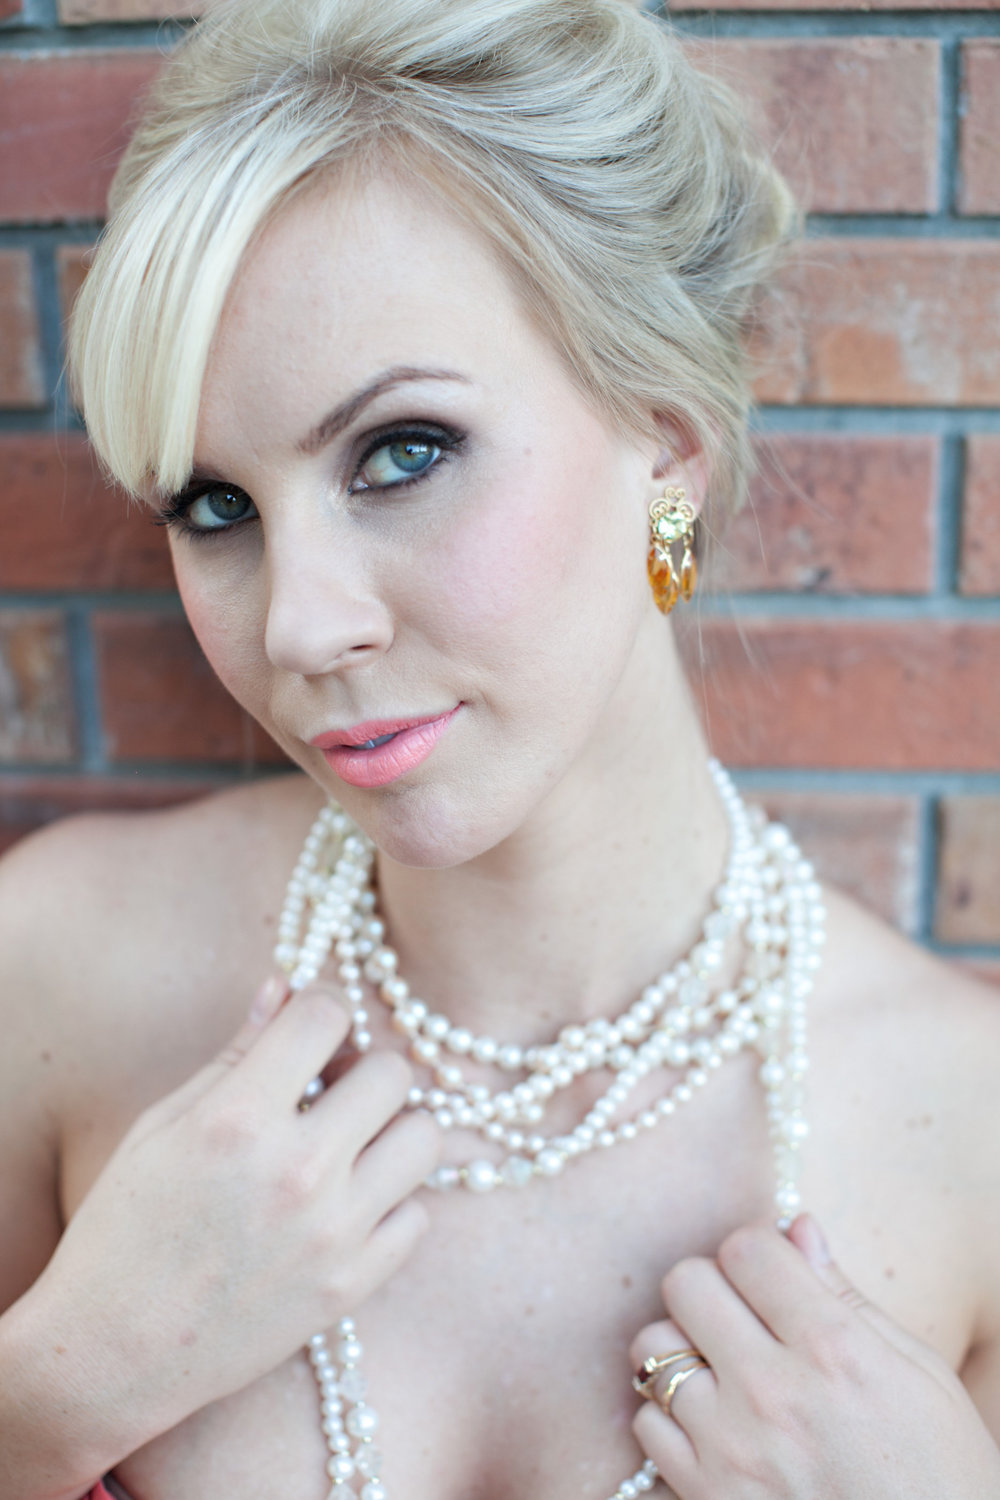
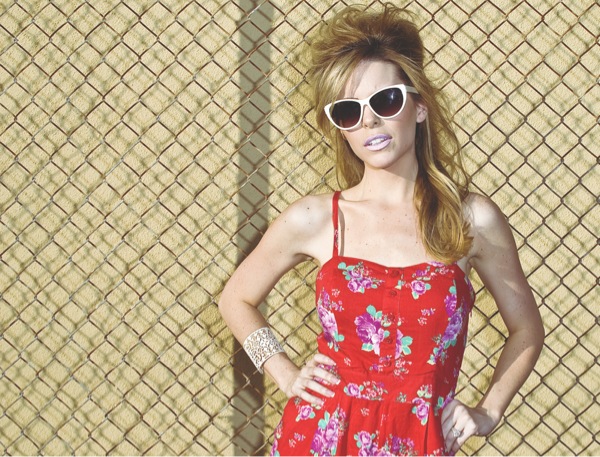
Are you a lipstick or vintage loving gal? Opt for vintage earrings, layers of pearls, or a punchy lip (or as in the case of our model all 3! Ha!)! A bright peach is a great way to rock the vintage look while still being current (bright lips are huge this fall in makeup trend!) and is a nice change from the usual red. Upswept hair with a little texture completes this look (styling compliments of Ashley B!)
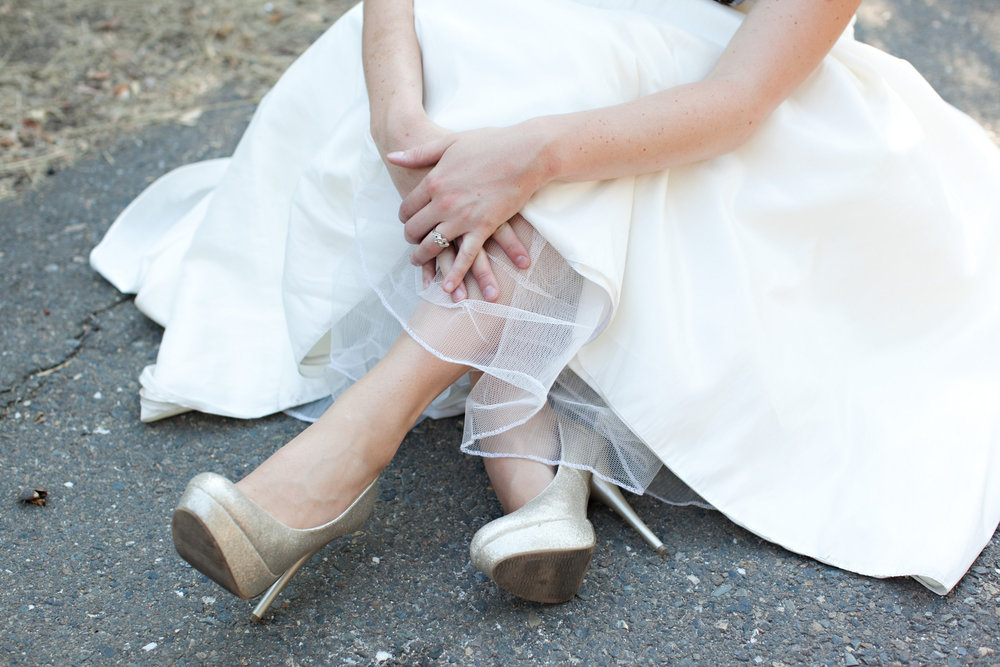
Sparkly heels! Who wouldn’t feel like a million bucks in these glittery gold colored babies?! I’ve seen versions of these all over the place and they can be pretty pricey. Our lovely model Ashleigh snagged these at Target! I would have never guessed…they were stunning!
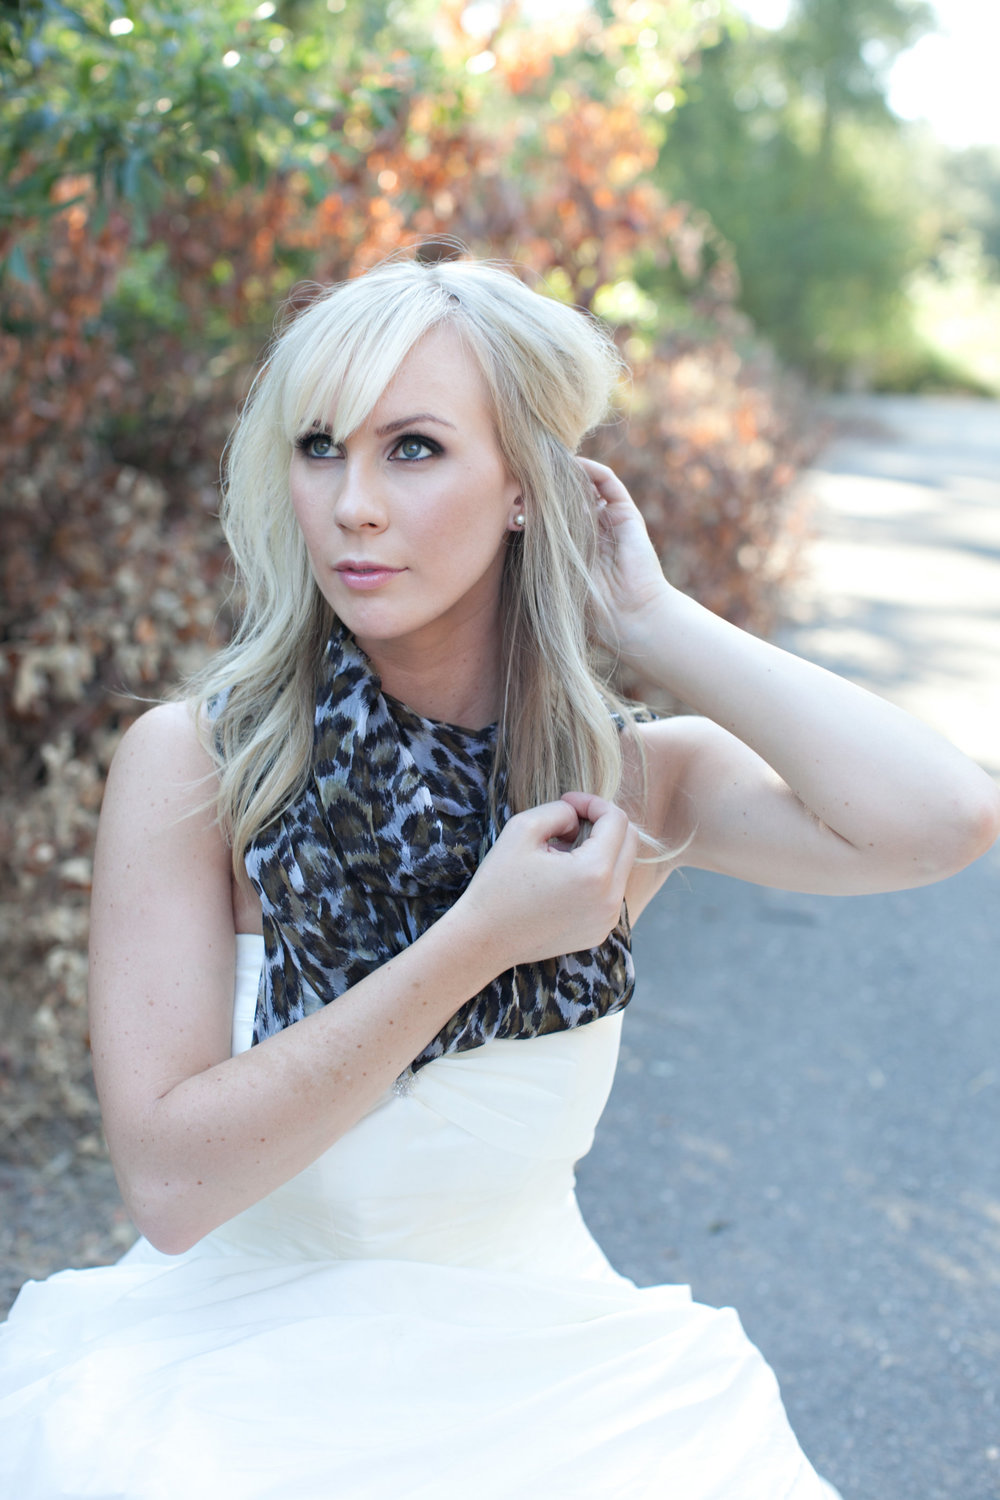
Another cold weather accessory: a scarf! Snag one in a shade like your wedding accent colors. Avoid bulky knits and opt for more of a pashmina or a chiffon or silk scarf. Looks cozy while still being classy! Love trends and fun bold statements? Go for an animal print! Again this can be for pics before or after the ceremony or better yet: before you enter your reception lose your veil and wrap a gorgeous scarf around your neck to change up your look!
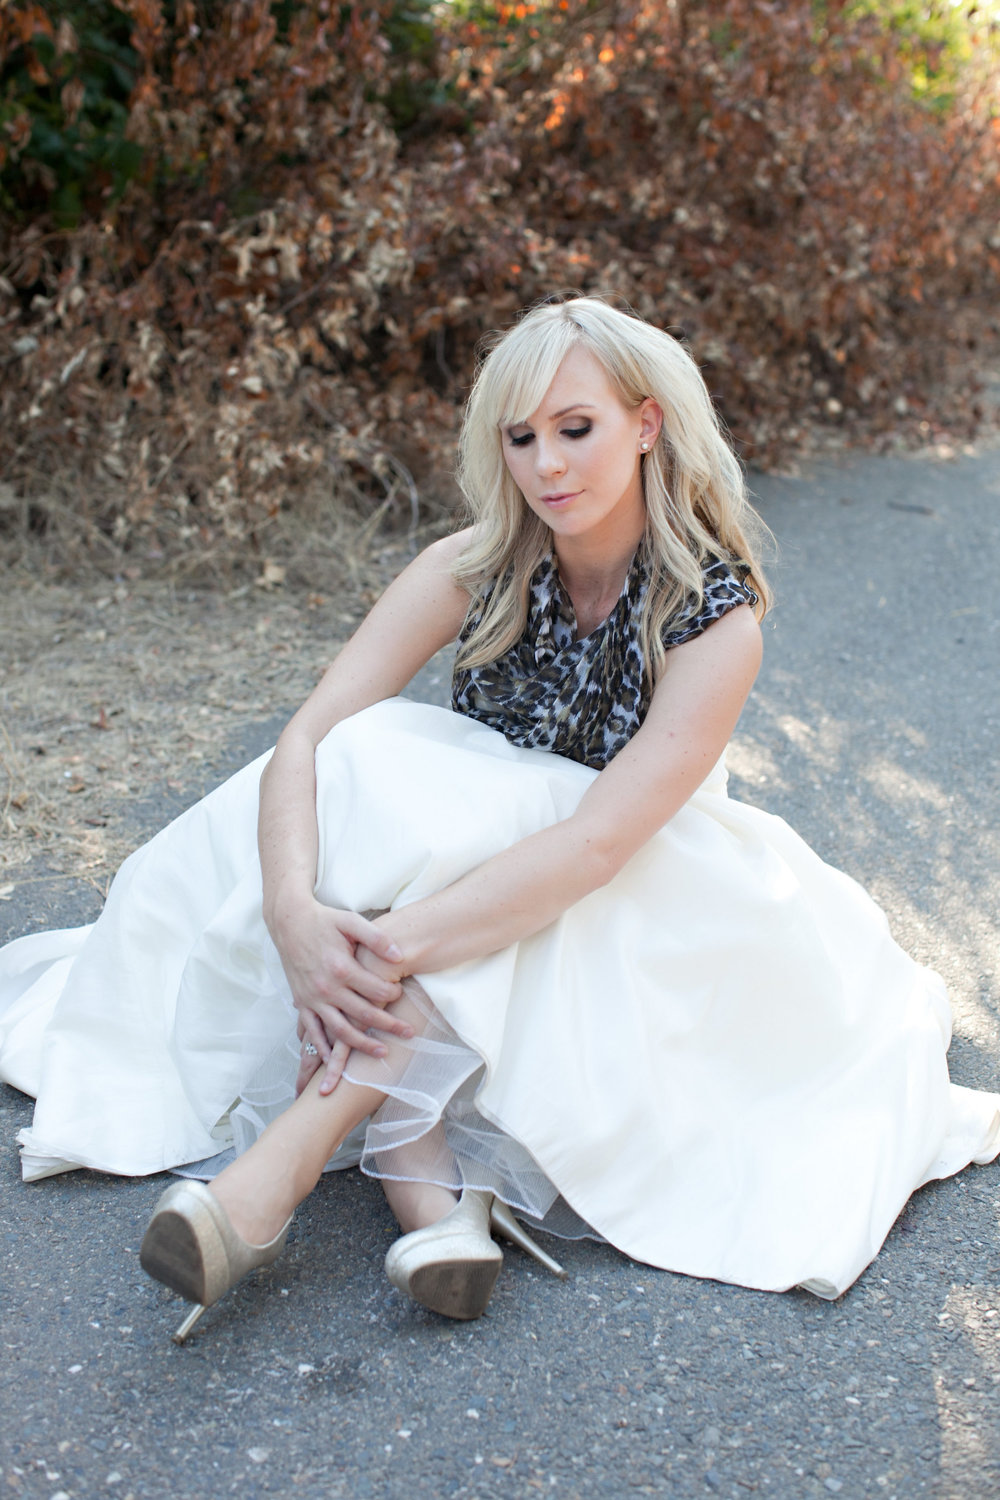
A classic smokey contoured eye is always in style! To learn how to do this makeup look click HERE. Ashleigh looks absolutely lovely don’t you think? Thanks for the amazing pics Lydia Photography!
While classic is always nice, there’s nothing wrong with your wedding or your bridal style reflecting who you are at the time you get married! Don’t pass up on something you like because you’re afraid it’ll look “dated” later in pics…guess what, it still will no matter what! So don’t be a fashion victim but enjoy the time you live in and capture it!
So Cheers to Style, Class, and maybe even a little Leopard Print on your big day!

Acessories, Beauty, Bridal, DIY, Fashion, Makeup, Photoshoot, Trend
November 5, 2011
Nothing says drama like a smokey eye!
A while back I had the pleasure of doing a shoot with the talented photog JennaRae…for these shots we wanted a very dramatic smokey eye…to help emphasize the dark socket I intentionally muted the model’s brows…

Mary (the model) could seriously be wearing dirt on her face and still look gorgeous tho so my job was pretty easy! 😉

For the eyes I started with blue as the base and brown in the crease and then layered matte black on top of it. Try Dior’s 5 pan eyeshadows in Gris Gris and Navy Design. And look at those lush lashes! Fakies of course…love me some Ardells! I used mostly bronzer and a soft sweep of peach on the cheek…that way the eye was the focus. Pale pink lip completed the look.
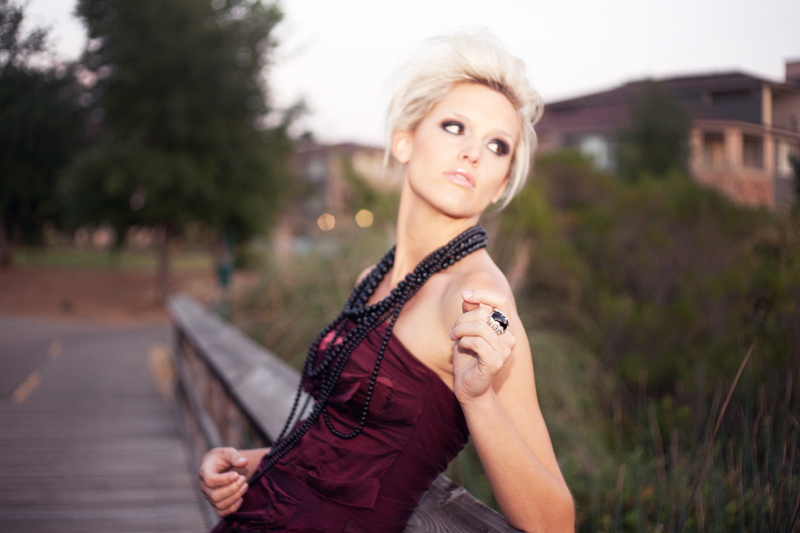
Ashley styled the hair on this shoot…I LOVE all of the texture in this updo! Don’t you?!
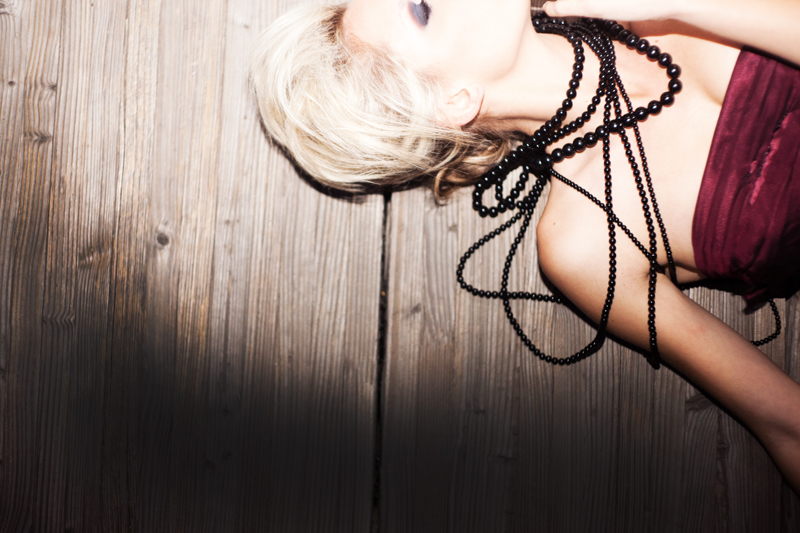
Layers and Layers of black beads…this necklace is all one piece attached in the back by chain. It actually belongs to me and is from H&M. One of my fav accessories!
Here is a tutorial on a very similar look…simply substitute in more black if you want the level of drama that Mary has in these pics!
There was a time when I would wear dramatic makeup a la Kardashian almost everyday! I had it down to a science and could whip out a uber-dramatic smokey eye in minutes! Nowadays…smokey eye is reserved for special occasions! So what about you…is a smokey eye a regular look for you? Only on the weekends? Never?
Cheers to layers of beads, and to Drama in your makeup but NOT in your life!

Acessories, Beauty, Fashion, Hair, Makeup, Photoshoot, Trend, Tutorial
November 3, 2011

